Color Correctors
Overview
Connecting the RCP to your color corrector allows you to:
- control each CC channel from the RCP instead of a web page
- mix camera head control and color corrector control in a single camera
Supported devices
- Blackmagic Teranex
- Lawo VPro8
- AJA FS serie (FS 2, FS 4, FS HDR)
- AJA ColorBox and OG-ColorBox (OpenGear version)
- FOR-A FA-1010 and FA-1616 (FA-1616 requires firmware version R3.30 or later)
- EVS Neuron and some Synapse cards
- Cobalt (support of a few of their cards)
- Imagine SNP
- Flanders BoxIO
- VMix
- Riedel MicroN
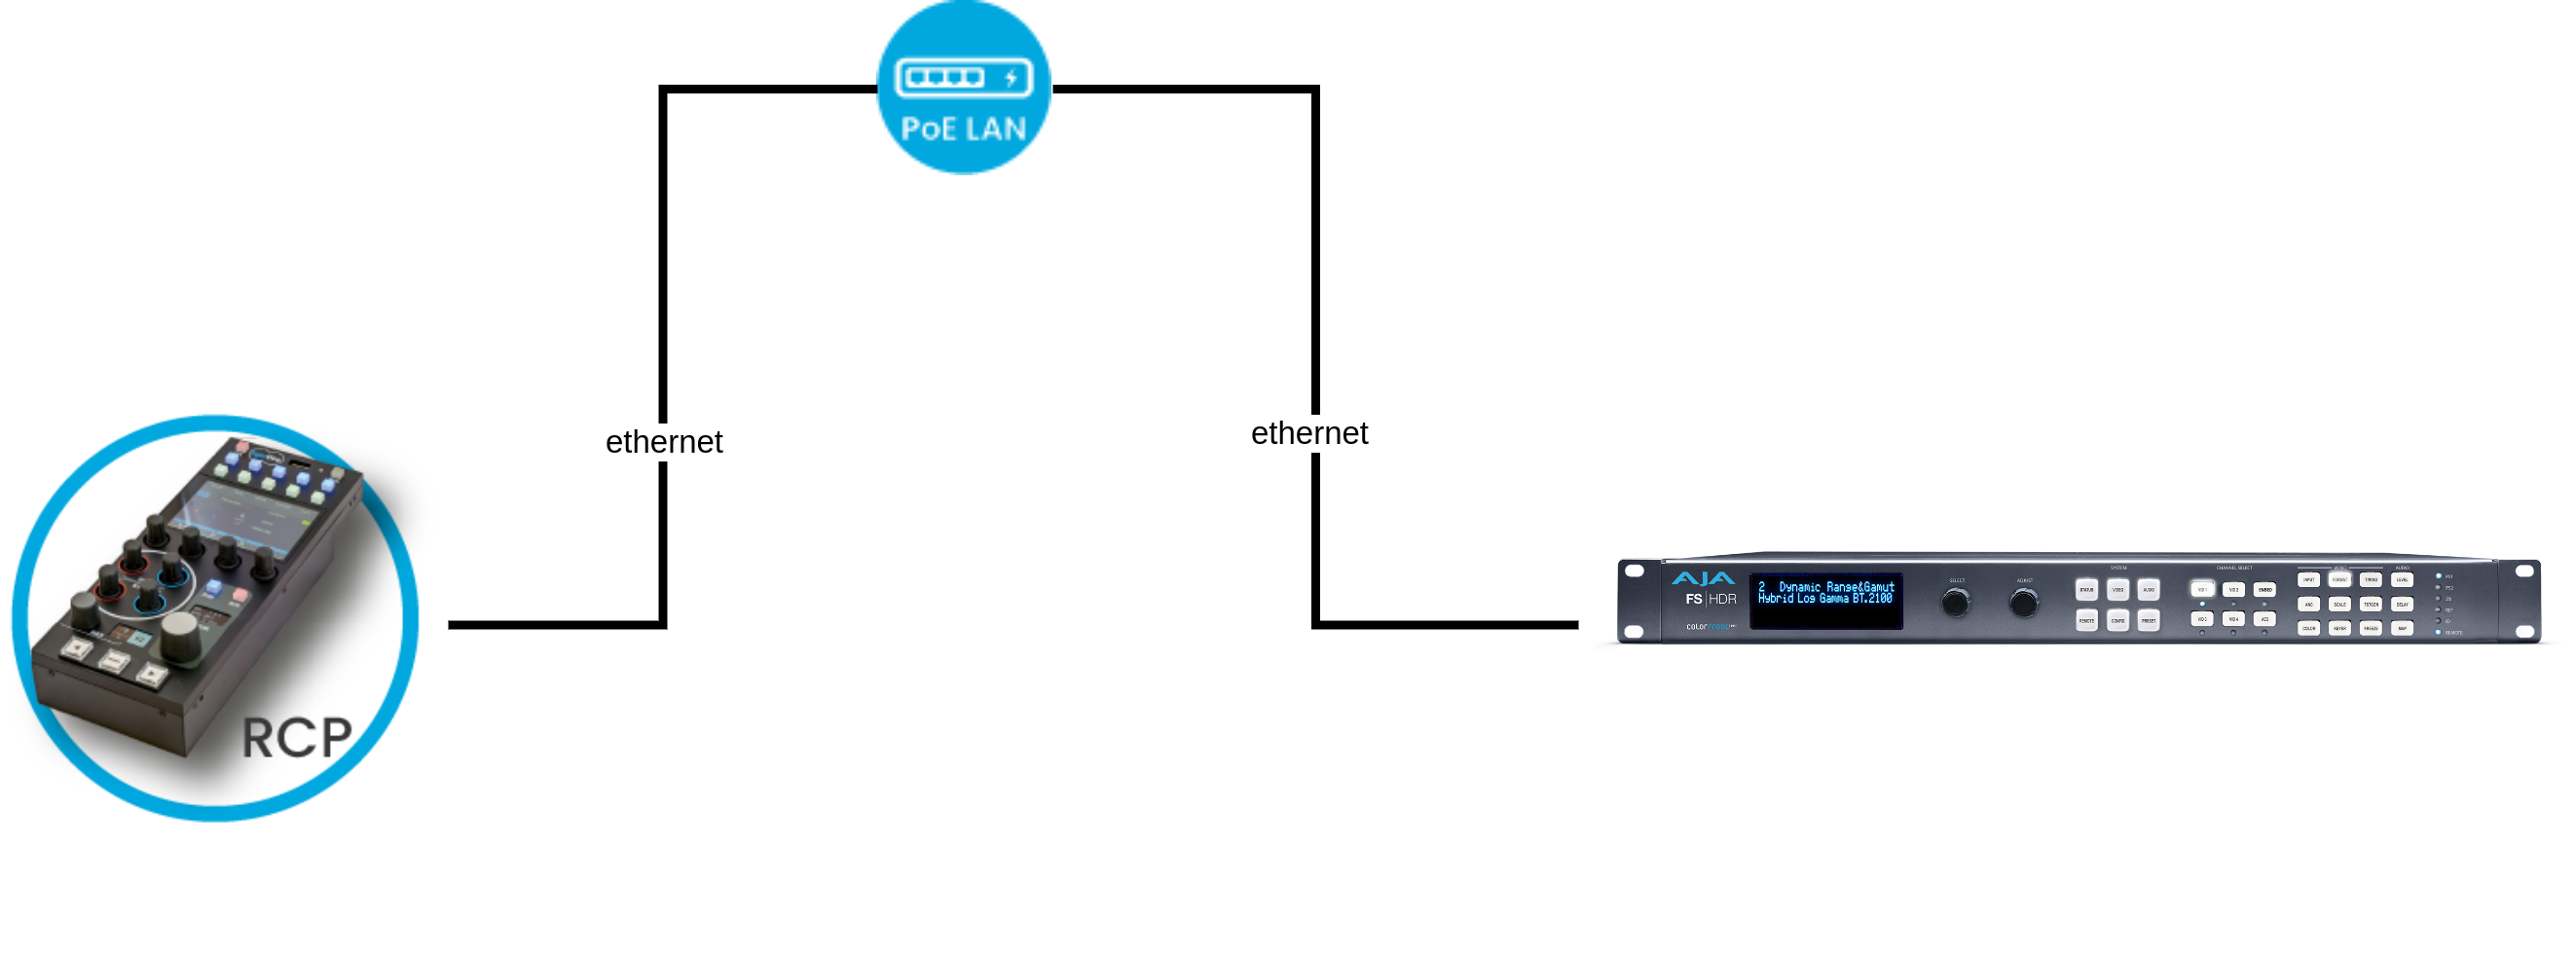
Wiring
Connects your RCP to the same network.
Setup
Navigate to your RCP Configuration UI.
If your color corrector is not in the default range 10.192.0.0/16, check this guide to ensure your RCP can communicate with it.
In the Configuration tab, in the Components section, click on +.
Select Video Processor. In the list, select your color corrector.
A new block should appear, click on it, on the right side:
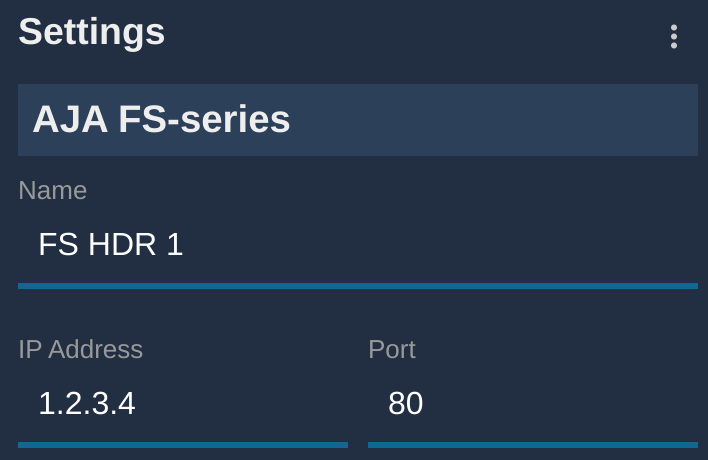
- [step 1] chose a name for your color corrector (optional)
- [step 2] enter the IP of your device
If everything goes well, your block shoud turn green:

Color corrector channel alone
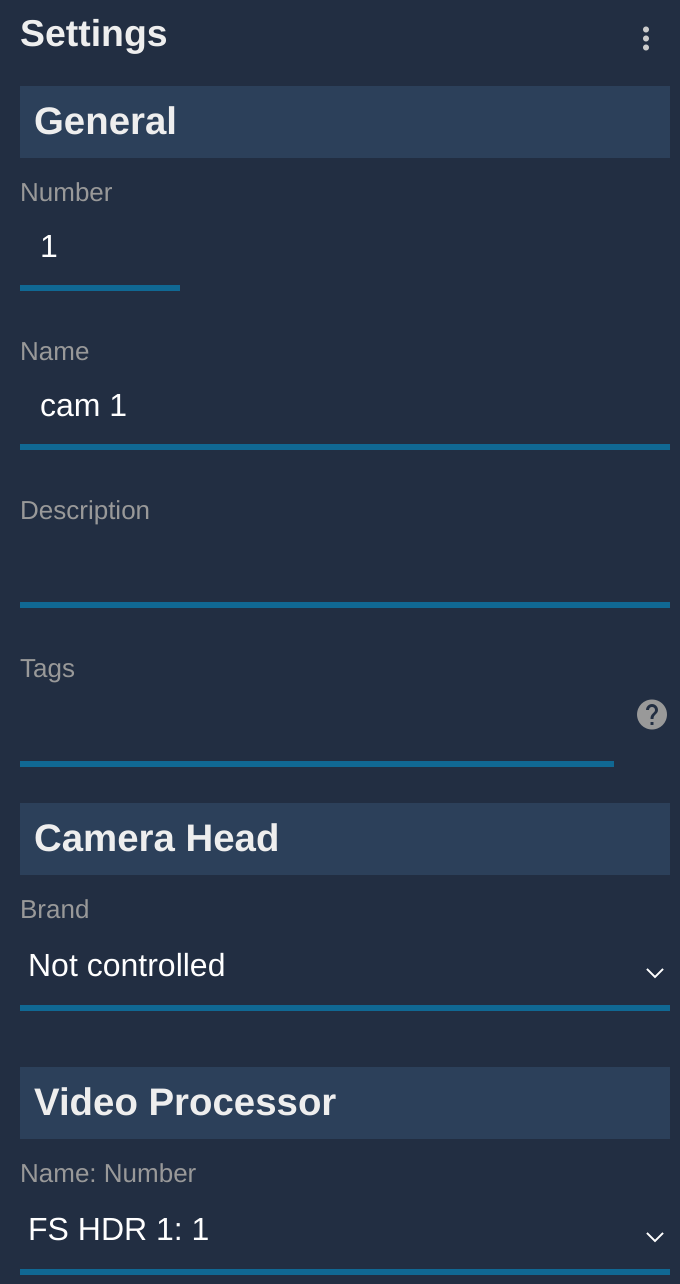
To control a CC channel:
- Create a new camera, with a number and a name
- Select
Not controlledin theCamera Head - Select your CC and channel in the
Video processorsection - The format is:
NAME:CHANNEL_ID
It should look like this:
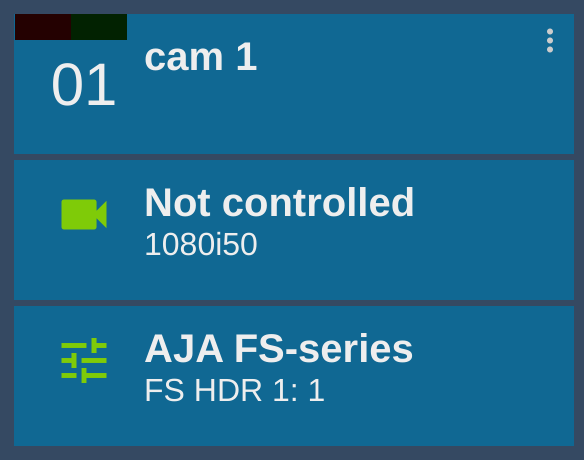
And if everything is fine, the block should appear green:
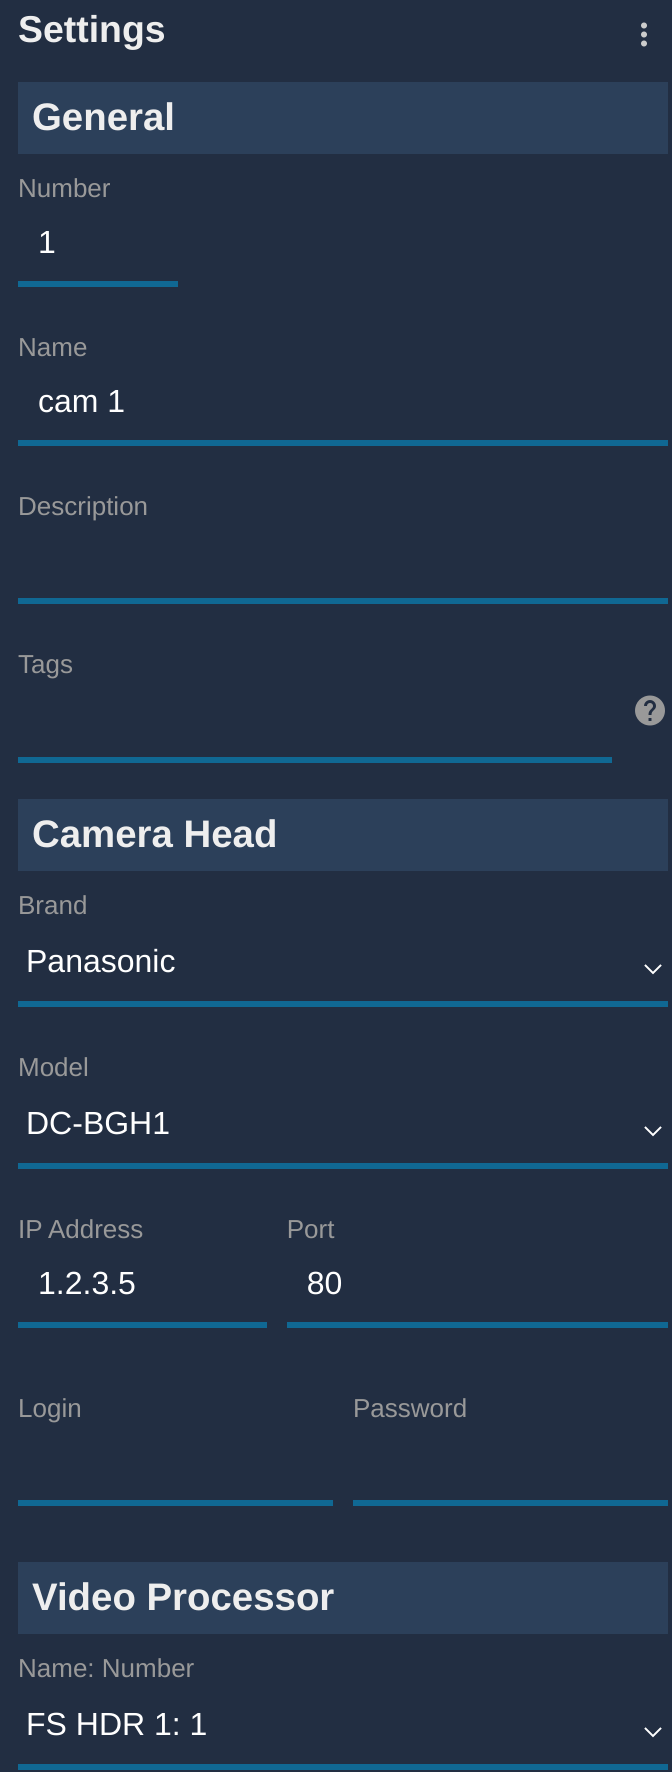
Color corrector combined with camera control
To control both a camera and the CC combined:
- Create a new camera, with a number and a name
- Select the your camera brand and model in the list
- Select your CC and channel in the
Video processorsection - The format is:
NAME:CHANNEL_ID
It should look like this:
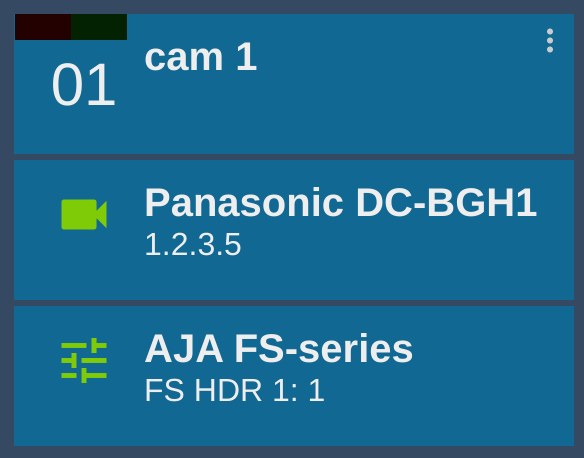
And if everything is fine, the block should appear green:
RCP operation
By default, camera head control has priority over CC control. For example, on a camera that only have white controls:
- if you touch the gain on the RCP, we will send it to the camera
- if you touch the blacks, we will send it to the CC
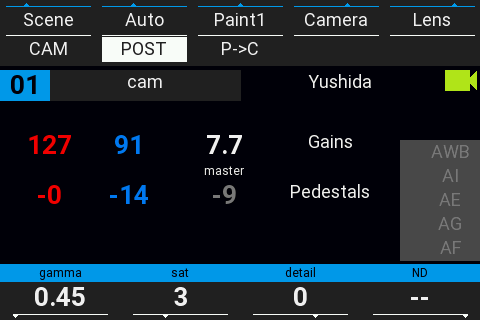
In this case, 3 new buttons will appear on your RCP:
CAMto toggle the camera head controlPOSTto toggle the CC controlC->P|P->Cto change the camera/CC control priority
RCP : Camera and CC combined by default
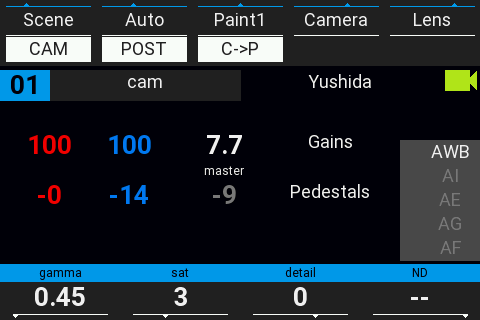
Combine camera and CC, camera has priority (CC only compensate what the camera has not)
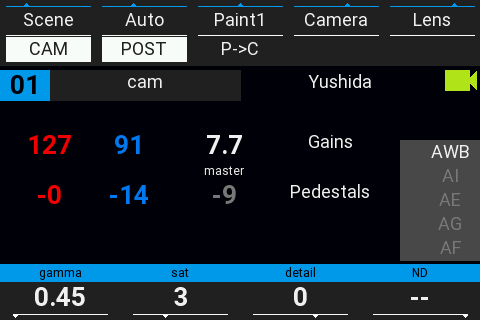
RCP : Camera only
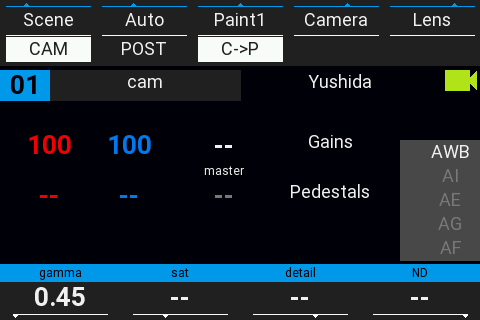
RCP : CC only
RCP : Camera and CC, CC has priority over camera
P->Cstands for Post (processing) over Camera controlC->Pstands for Camera over Post (processing) control