Blackmagic Camera control
We have three ways to control a Blackmagic camera:
- IP to the camera using the REST API
- IP to an ATEM (which will then control the camera over SDI return feed)
- SDI metadata through the program input of the camera
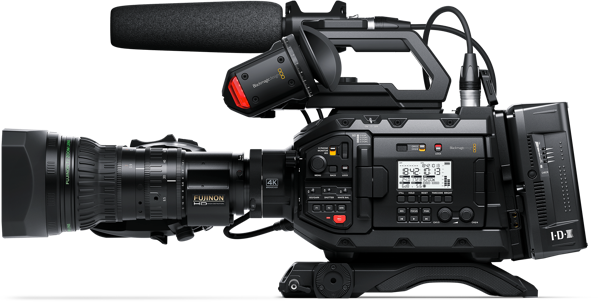
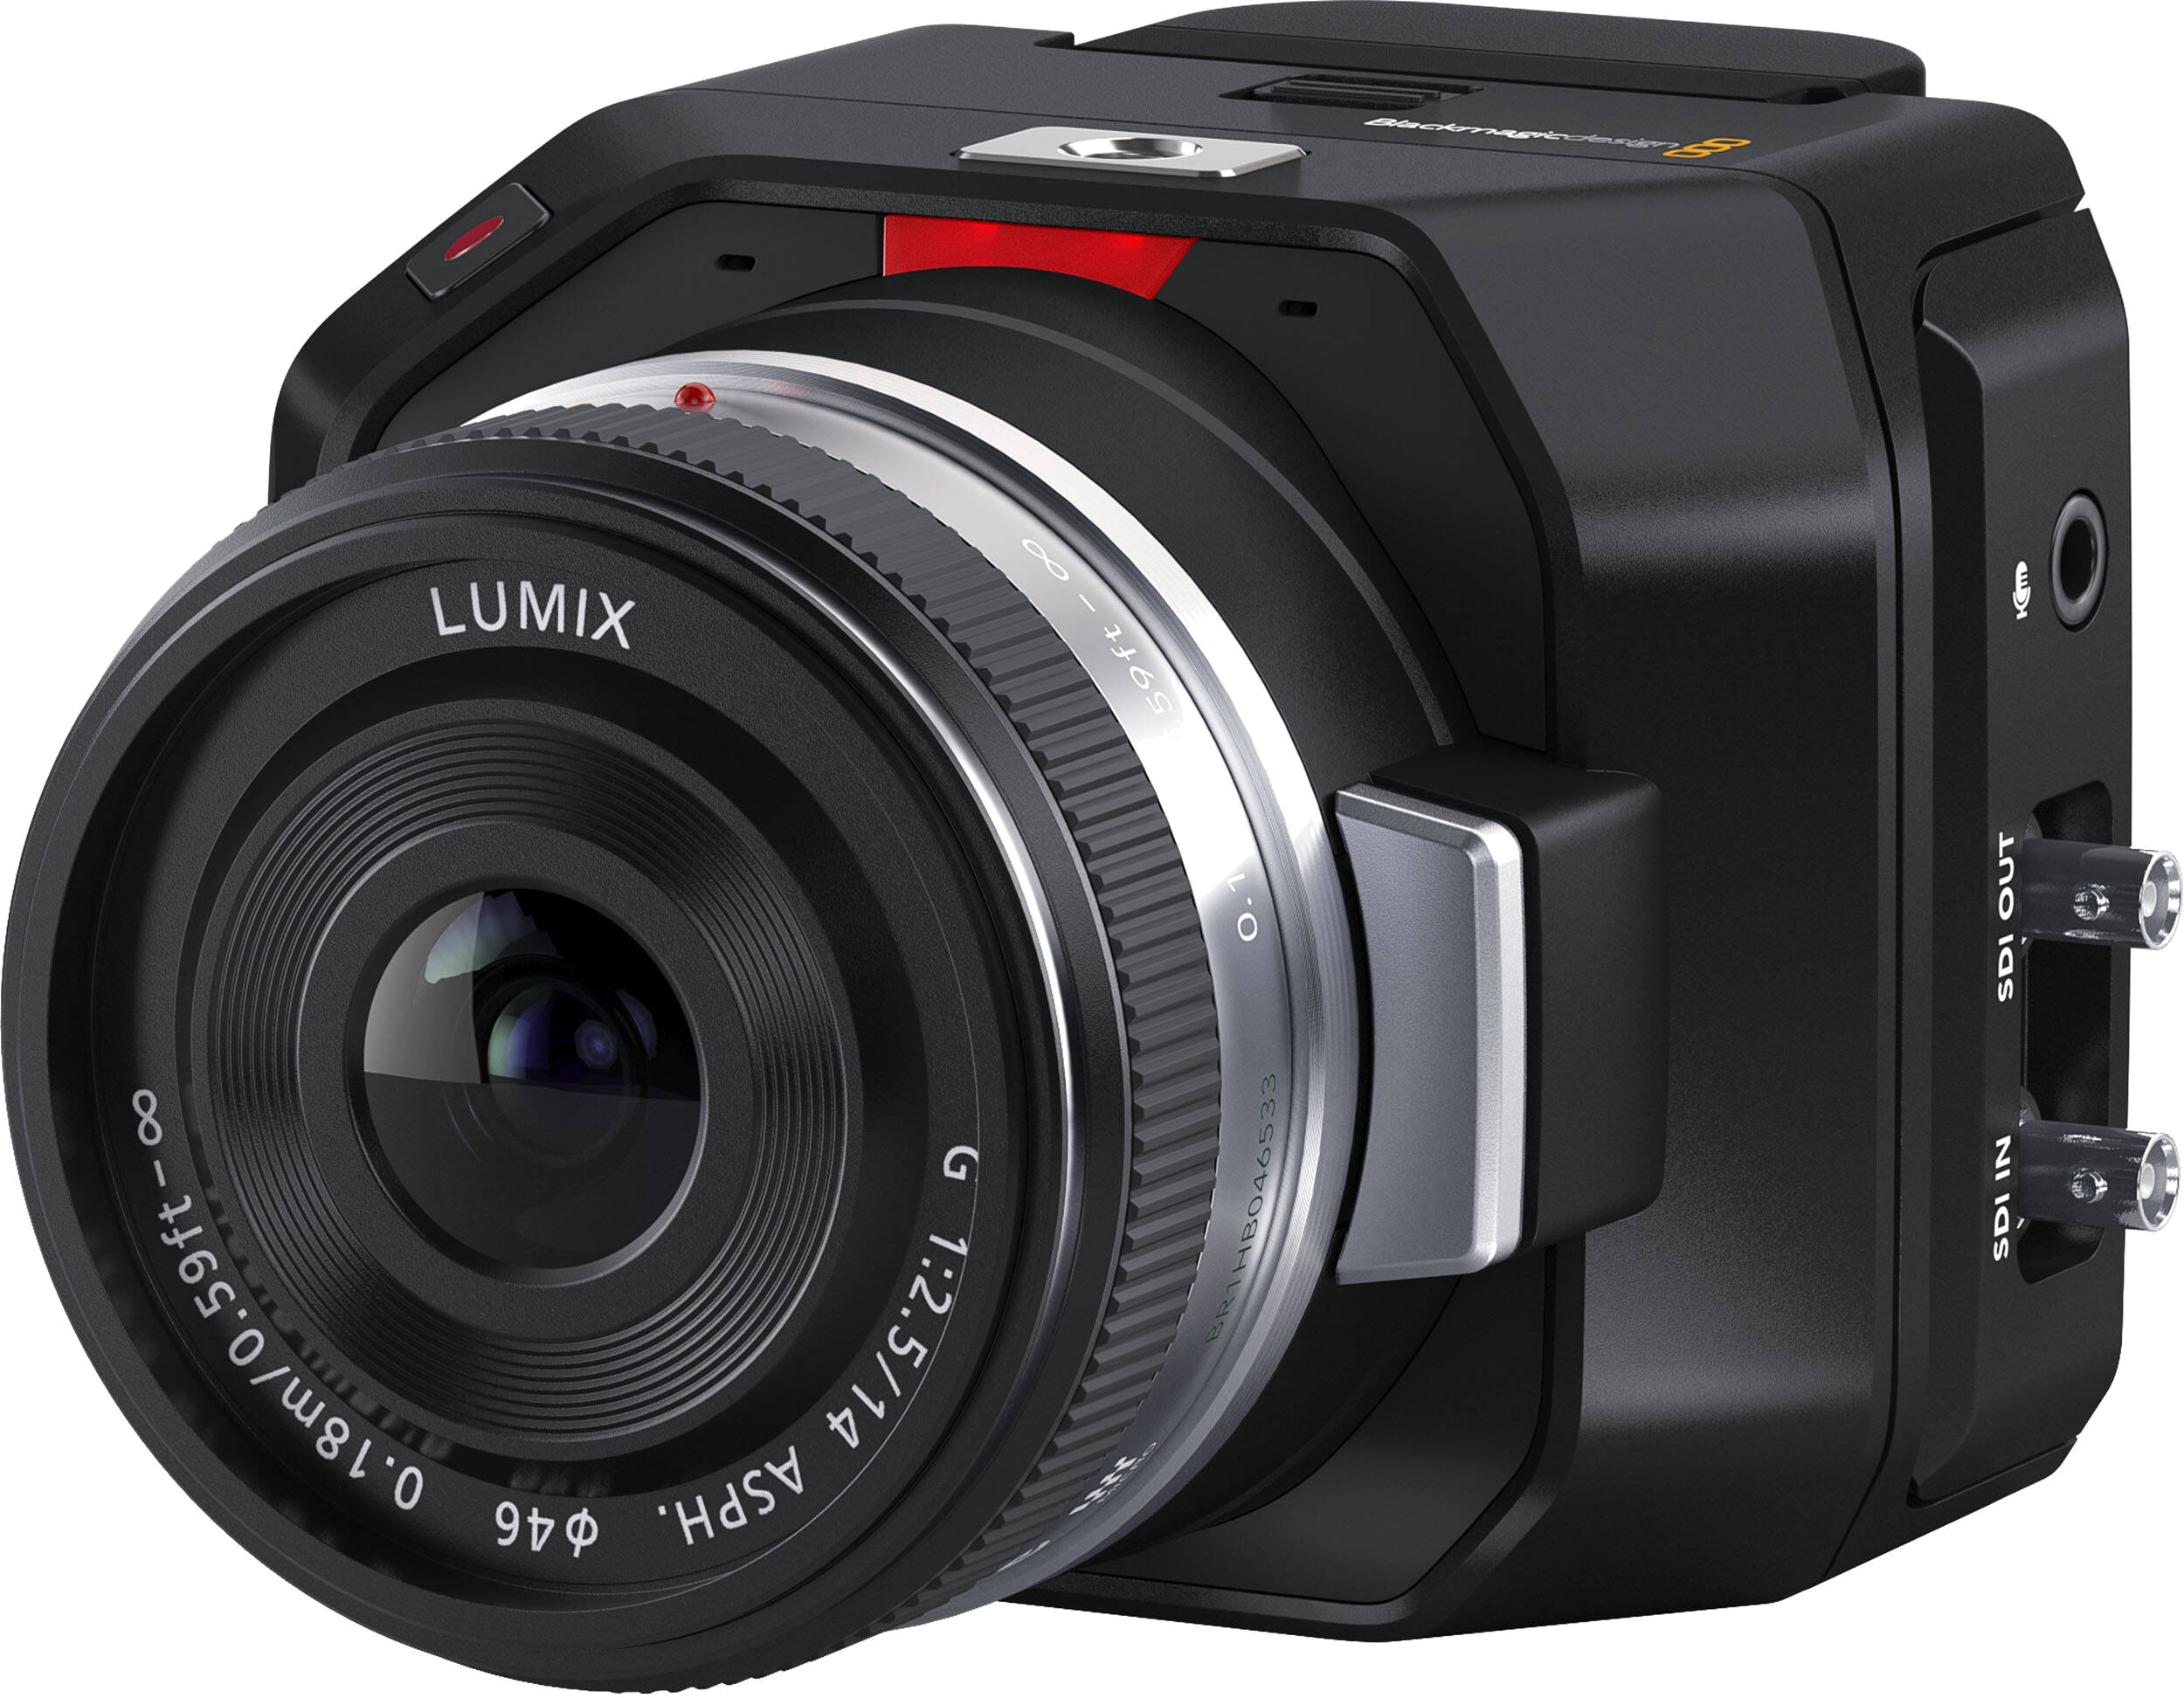
Supported models
Control over SDI
All cameras having return SDI and supported by the Atem for camera control can be controlled over SDI either directly or through an Atem. See Camera SDI
Control over IP REST API
It seems that all newer cameras come with the REST API available. Here's a list of the older camera models which started to have the REST API. Older models not listed here are not supported over IP but this can always be confirmed by looking at the latest available manuals for that camera.
- Studio Camera 4K and 6K models
- URSA Broadcast G2
- Micro Studio Camera 4K G2
- Cinema Camera 6K
- URSA Cine
- PYXIS
If it's an old model, ensure that the camera firmware and RCP are updated to the latest version to guarantee that all features are available and compatible.
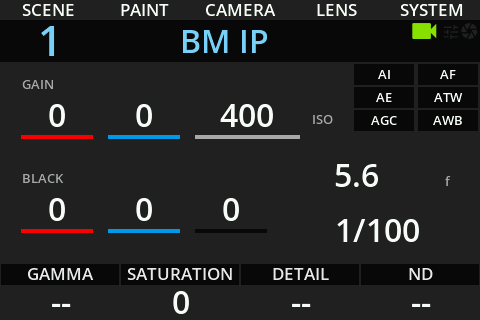
Controls
The control interface is mainly similar on every camera model, except tally which is not present on IP remote camera controls.
| Control | Notes | SDI/ATEM | IP |
|---|---|---|---|
| Iris | Manual and AUTO iris | ✔ | ✔ |
| Gain | Gain in dB or ISO | ✔ | ✔ |
| Shutter | Manual, AUTO, ECS | ✔ | ✔ |
| White balance | R/G/B gains, M. White, Color Temperature and Tint | ✔ | ✔ |
| Black balance | R/G/B gains, M. Black | ✔ | ✔ |
| Gamma | R/G/B and M. Gamma | ✔ | ✔ |
| Saturation/Hue | Saturation and Hue | ✔ | ✔ |
| Record | ON/OFF, status and TC | ✔ | |
| Tally | Red/Green tally | ✔ | |
| Lens | Zoom and Focus | ✔ | ✔ |
One important point to note is that control through SDI, whether it's directly sent from the RCP or through the Atem and program video path, results in unidirectional control. This means the camera will not send any feedback about its current state to the RCP or Atem. As a result, values on the camera may differ from those displayed by the RCP, leading to potential jumps when adjustments are made.
RCP menus overview: