VMix Manual
Overview
You can integrate the RCP with VMix. It will give you:
- Tally input
- Switching aux output to sync RCP
- Color correction
Wiring
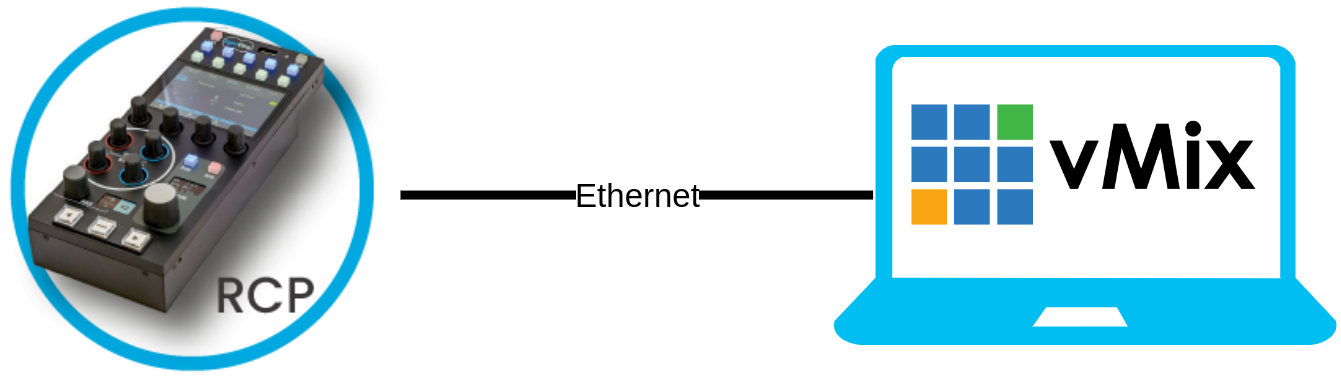
Connect the RCP and the VMix on the same network.
Setup
Ensure your RCP has a matching IP with your VMix computer. You can setup a new IP in the RCP here.
Router
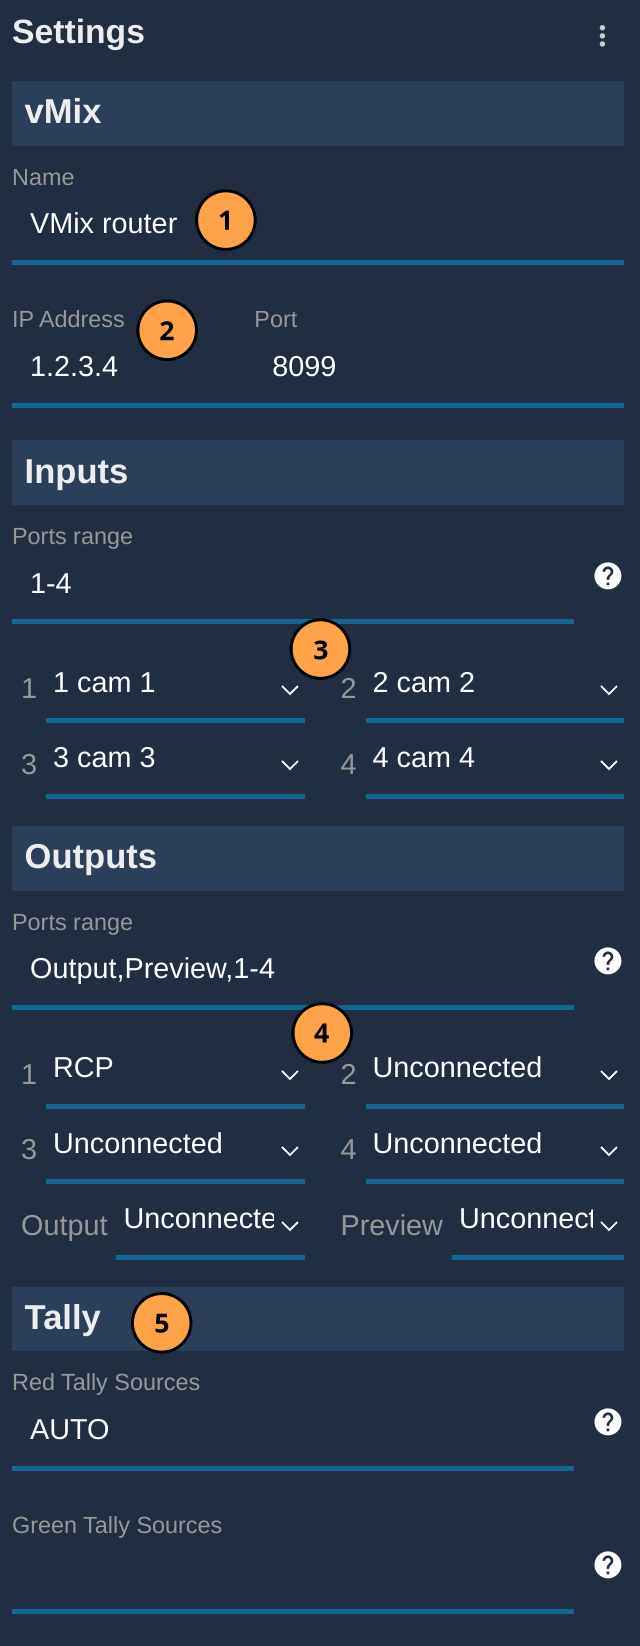
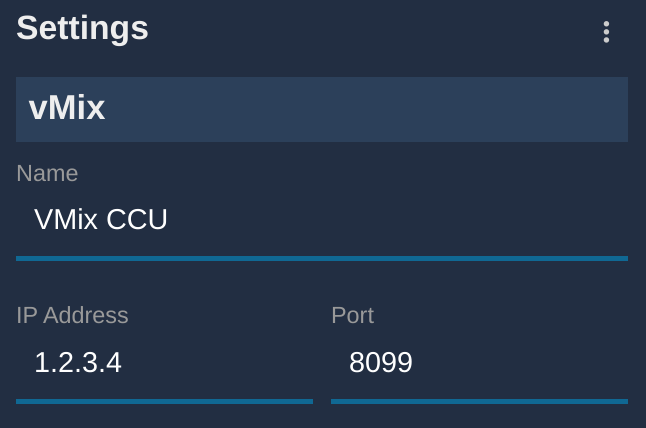
- [step 1] : setup a name (optional)
- [step 2] : setup the IP of your VMix computer, ensure the RCP can reach the computer ( IP guide )
- [step 3] : link your cameras to the matching VMix input
- [step 4] : link your RCP with an auxiliary output
Now, your RCP is configured with your VMix.

When you will change the camera on the RCP, the aux output selected will follow
Tally input
Follow the step above to configure VMix as a router.
Then, in the Tally section of the VMix router, enter:
- AUTO in
Red Tally Sources - AUTO in
Green Tally Sources
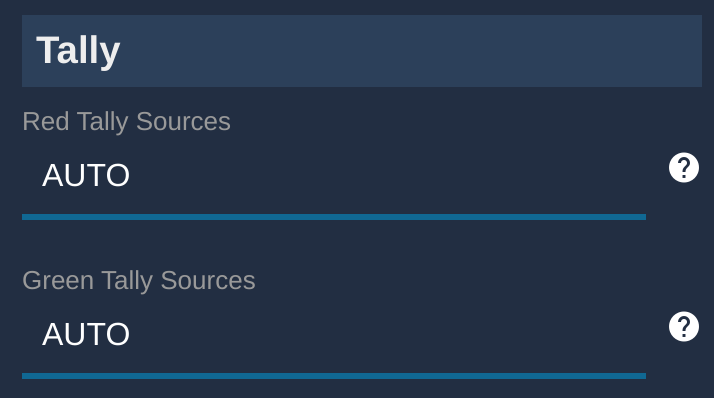
This will give you a green tally for the preview and red tally for the live.
If you have a different setup, instead of AUTO, you can enter any of the VMix output name: Output, Preview, 1, 2, etc.
If you need more tally output, you can check this page
Color correction
Enter:
- Name (optional)
- IP
Now your RCP has control on the VMix color correction

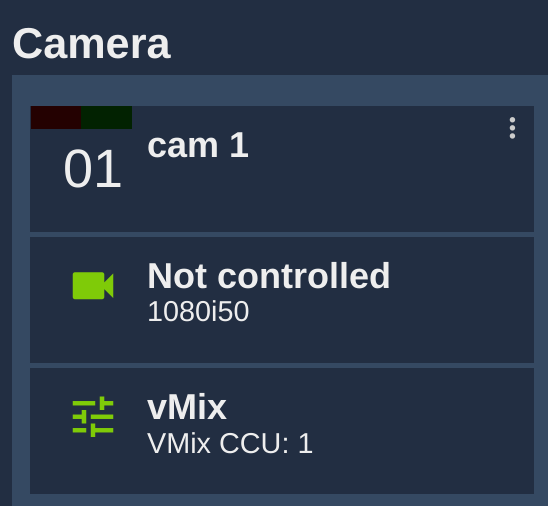
You can now click on an existing camera:
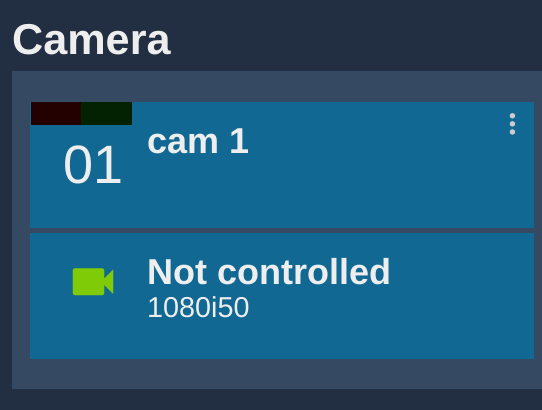
Here, not controlled, means we don't control any camera, just the VMix color correction. You can combine camera head control and VMix color correction.
In the right menu, scroll to Video Processor, select one of your VMix channel:
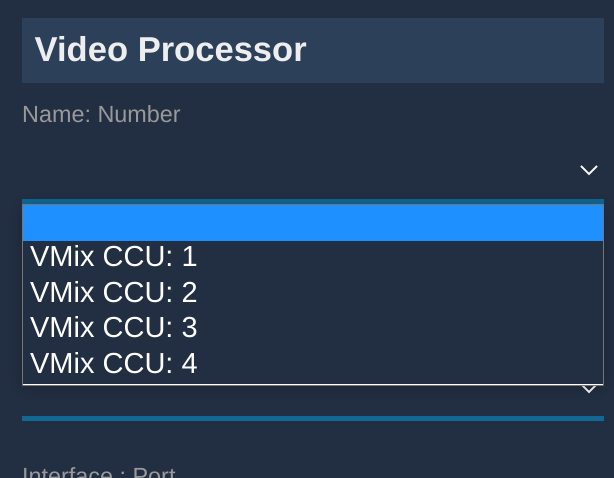
Now you control VMix channel 1 on your RCP cam 1