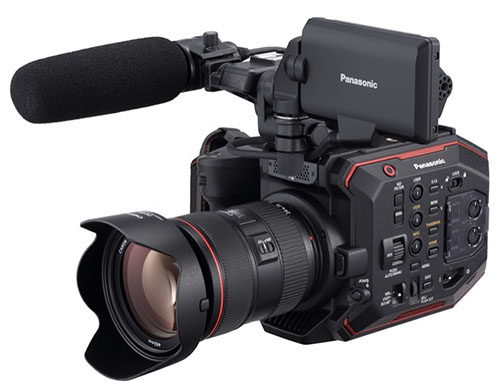
Panasonic EVA1
Overview
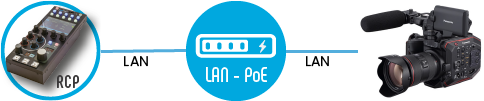
Panasonic AU-EVA1 camera provide remote control and multiple direct access functions over serial protocol. A typical setup consists of a CI0 IP to serial interface to control the camera over IP from an RCP.
Main Adjustments
| Function | Notes |
|---|---|
| OSD menus | All functions available |
| Exposure | Iris1,2, Shutter, Gain, Auto Exposure |
| White balance | Auto (ATW), One Push, Manual |
| Primary corrections | Master Black1 , Master Gamma, Color Gains, Saturation |
| Lens2 | Iris, Focus, Auto focus, Zoom |
| Other | Detail Enhancement, Digital Zoom1, White Clip |
- not supported on all models
- on zoom block cameras
Note: Red and Blue gains are not supported by the AU-EVA1 protocol.
Setup
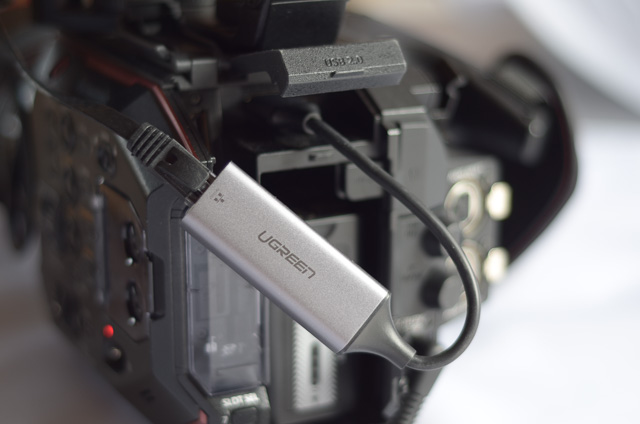
USB connection
The Panasonic AU-EVA1 camera is controlled over IP using one of the supported USB to Ethernet adapters listed below. Other models will not work.
- UGREEN USB 3.0 to Ethernet RJ45 Lan Gigabit Adapter for 10/100/1000 (SKU 20256, make sure to order the USB 3.0 version, not the USB 2.0) Plugable USB3.0 Gigabit Ethernet Adapter
- BUFFALO Wired LAN adapter LUA4-U3-AGT
Connecting
- Plug the USB - Ethernet adapter at the top back of the camera
- Connect both your Panasonic AU-EVA1 and your Cyanview RCP to a PoE network access.
Cam setup

-
[step 1]Verify your Panasonic AU-EVA1 Firmware is in version 3.00-00-0.00 or later.
-
[step 2]In the camera menus, select
NETWORK SETTINGS. -
[step 3]Under
NETWORK FUNC, either delete all accounts or add an account namedguestand passwordauguestall lowercase. -
[step 4]Under
NETWORK PROPERTY, setTYPEto 'INFRA(MANUAL)'. -
[step 5]Change
DHCPto OFF, we will keep the default 192.168.0.1 IP address for this example. -
[step 6]Change
NETWORK SELfrom OFF to WLAN.
-
[step 7]Power cycle the camera to apply the network changes.
When changing network configuration or user account, it is usually required to power cycle the camera to apply the changes