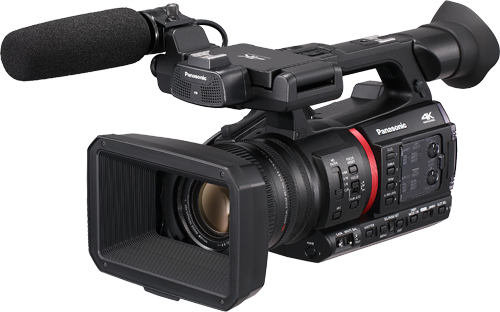
Panasonic CX350
Supported Control
| Control | Notes |
|---|---|
| Iris | Manual and AUTO iris (speed, sensitivity) |
| Gain | In dB, manual and AUTO (possibility to set max gain and EV) |
| Shutter | Speed or ECS |
| ND [^1] | ND can be changed but can't be recalled from scene files as the protocol only allows control by multiple increments increments |
| White balance | R/B gain, master gain, color temp |
| Black balance | R/B gain, master black |
| Saturation and Hue | |
| Knee | Point and slope, auto |
| Black gamma | Master and range |
| Detail and coring | detail level/freq/mix, coring level, skin detail (skin 1, skin 2, skin 3) |
| OETF | HD/SD/FILMLIKE1/FILMLIKE2/FILMLIKE3/FILM-REC/VIDEO-REC/HLG |
| Color space | NORMAL1/NORMAL2/FLUO/CINELIKE |
| Matrix and multimatrix | M-M with 16 vectors hue and saturation controls |
| Zoom and Focus | Zoom and Focus controls in speed, position is read only |
| Other | Pattern, ATW, AWB, ABB |
| Menu navigation | ON/OFF, enter/back, up/down, toggle display O |
info
The camera firmware must be up-to-date. At the time this article is written, the latest firmware version for the AG-CX350 camera is version 7.20-00.
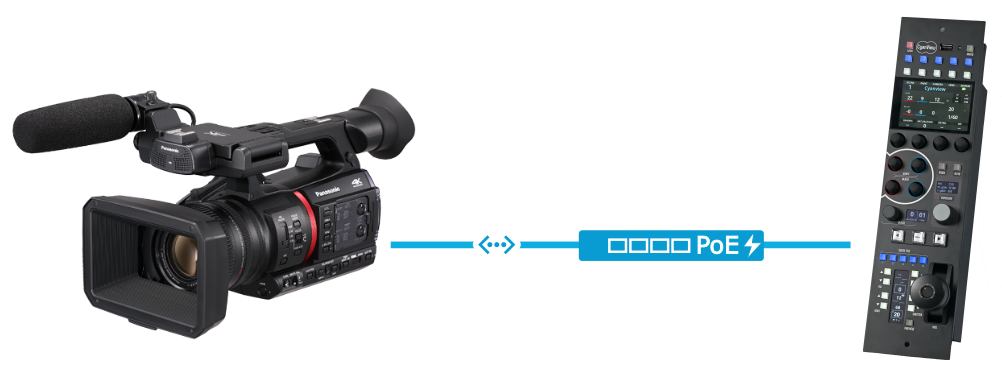
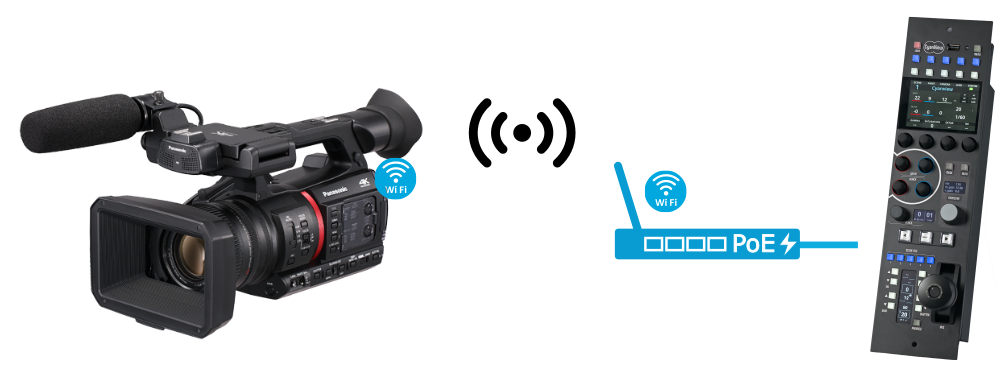
Connection
To control the camera, use either a wired Ethernet connection or the camera’s built-in Wi-Fi. All communication is handled over IP.
Configuration
Camera
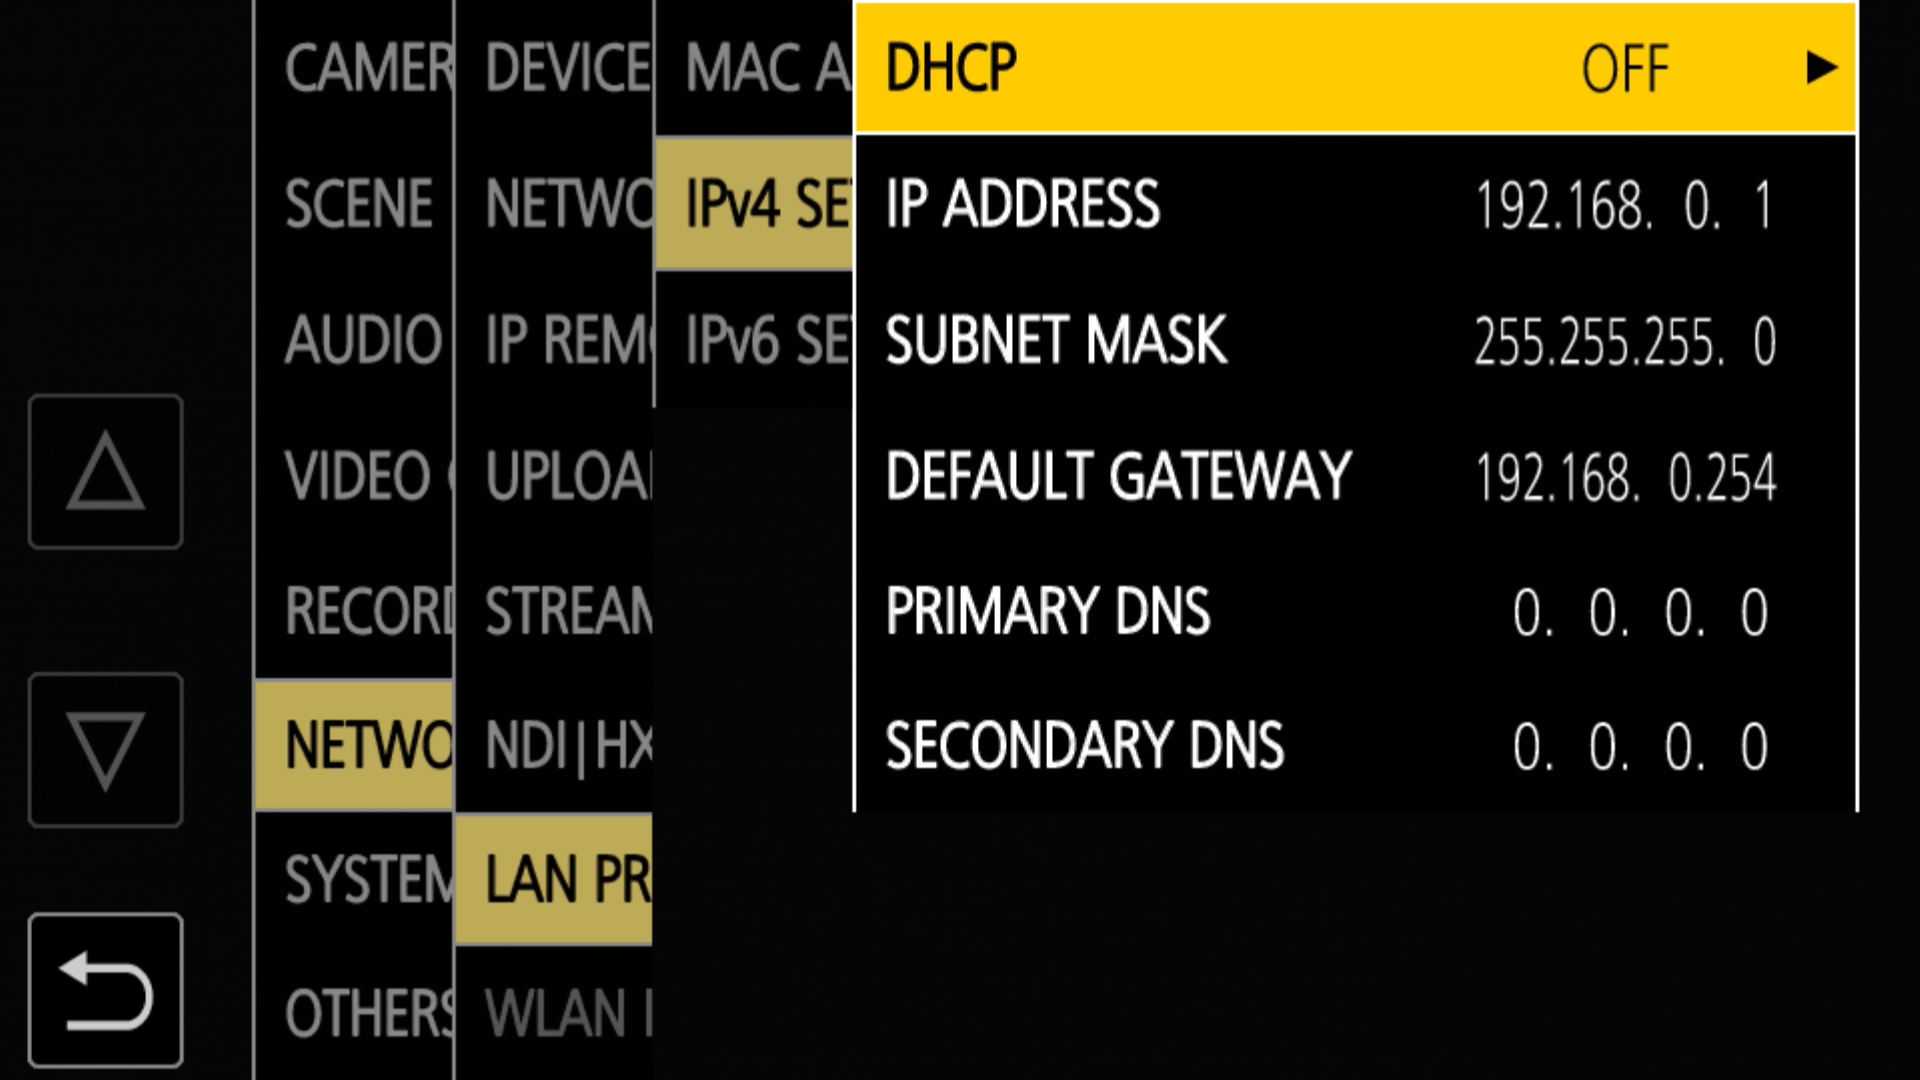
Set up your network, either static or DHCP in NETWORK > LAN PROPERTY > IPV4 SETTING:
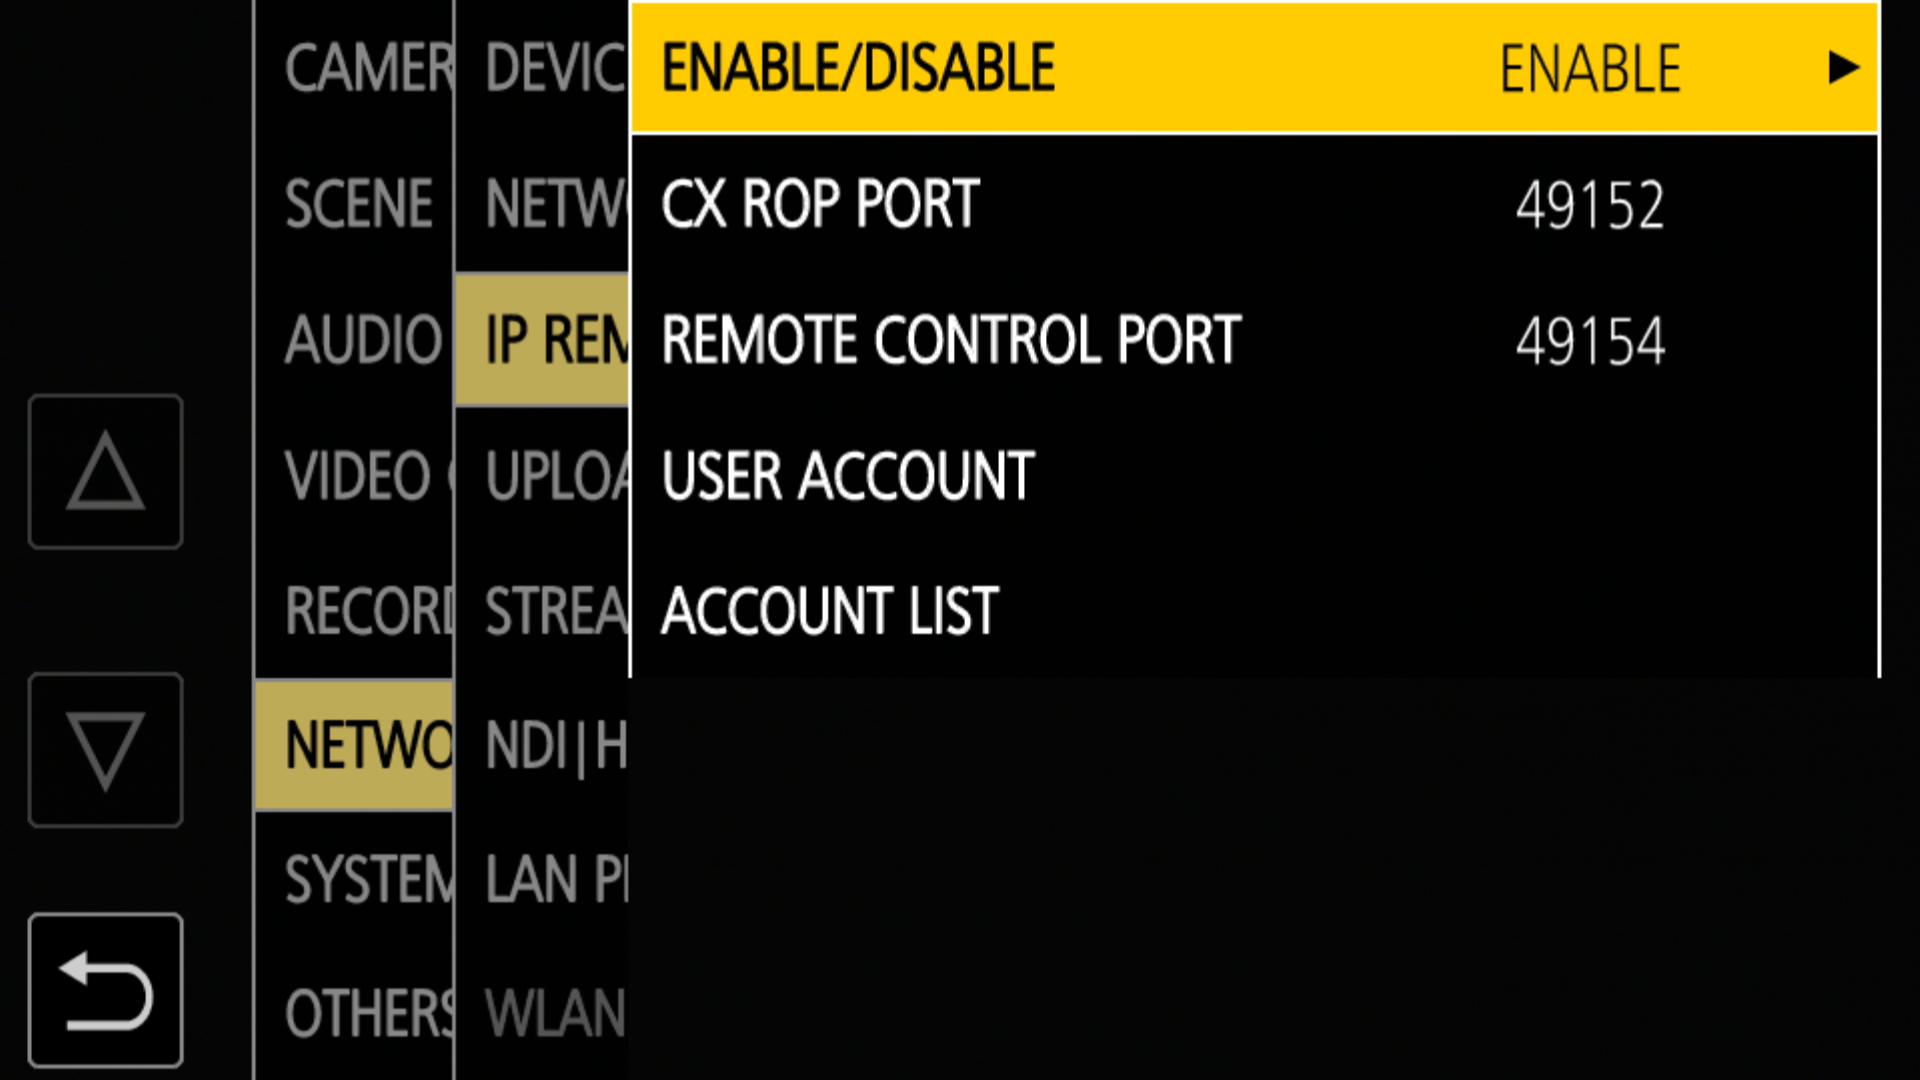
Activate the remote control in NETWORK > IP REMOTE (set it to ENABLE):
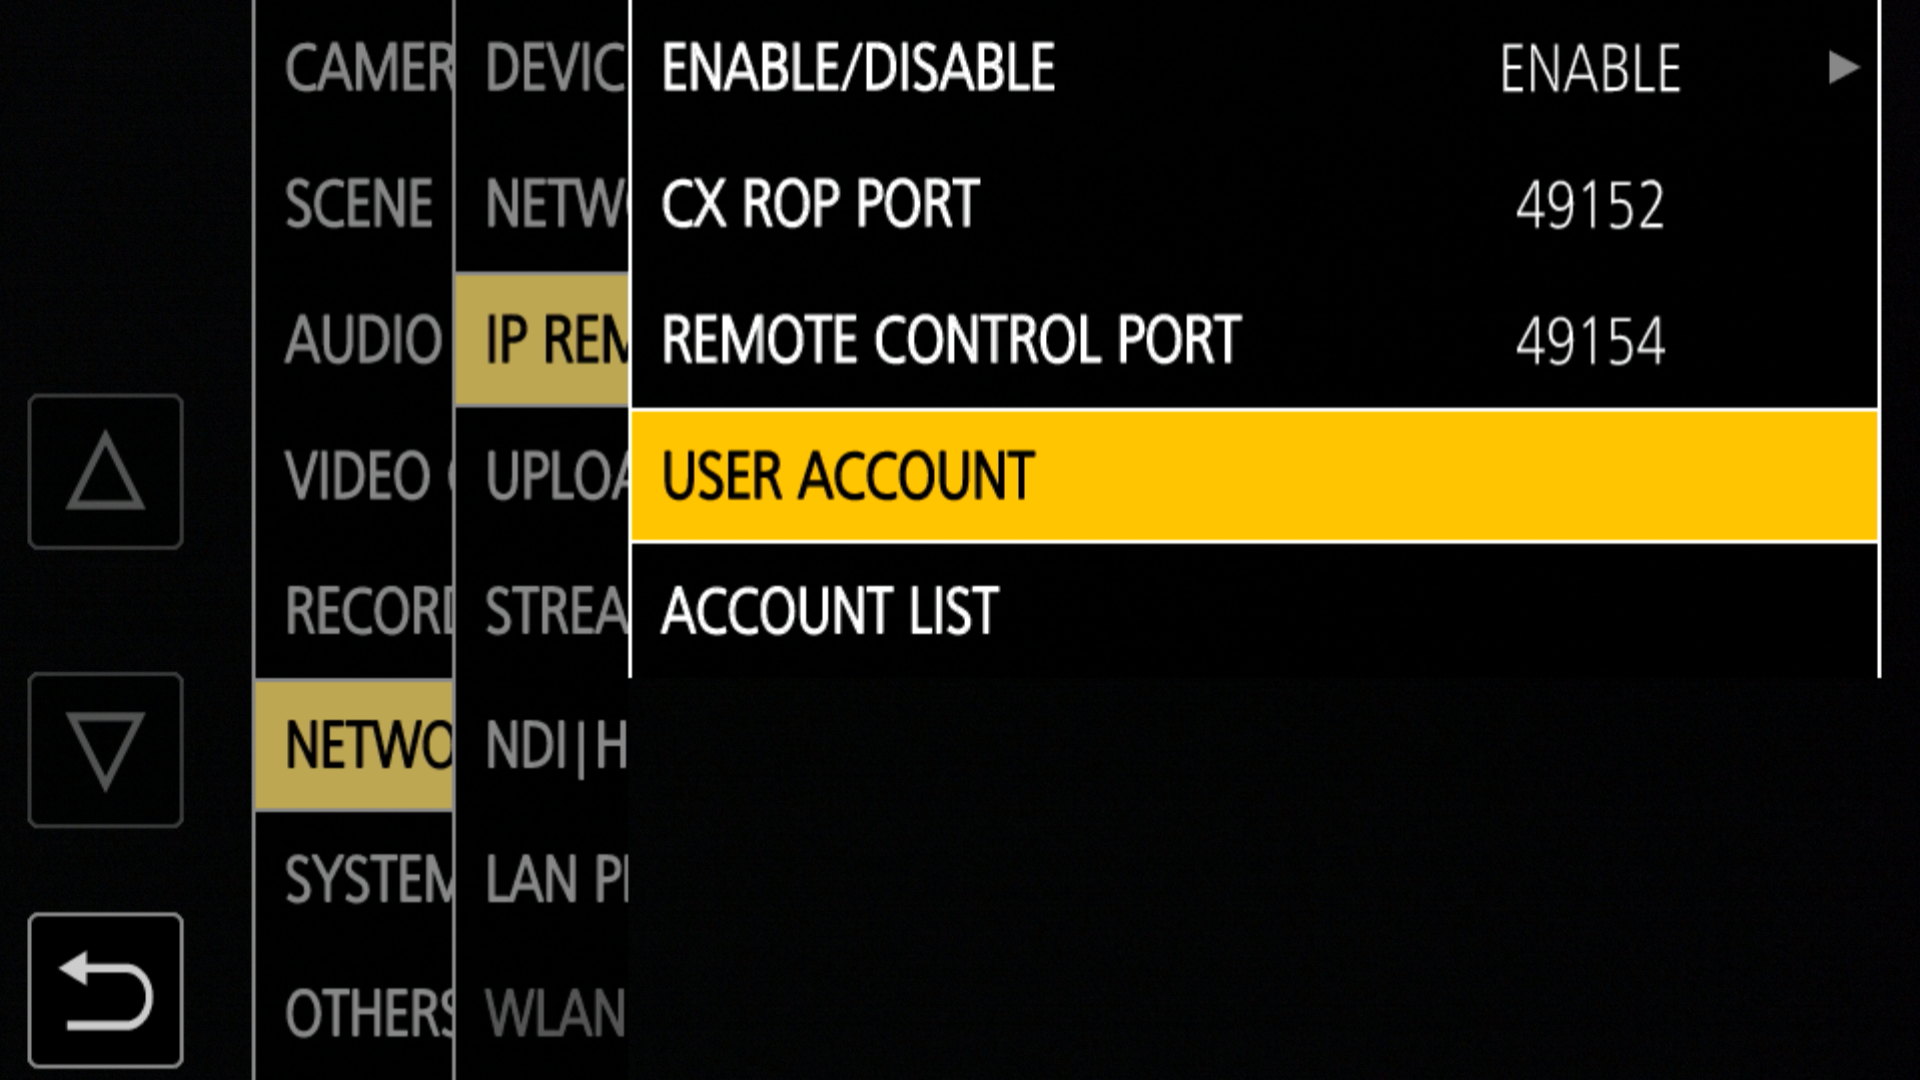
Set up an account (login/password) in NETWORK > IP REMOTE (if no account in ACCOUNT LIST, create a new one in USER ACCOUNT):
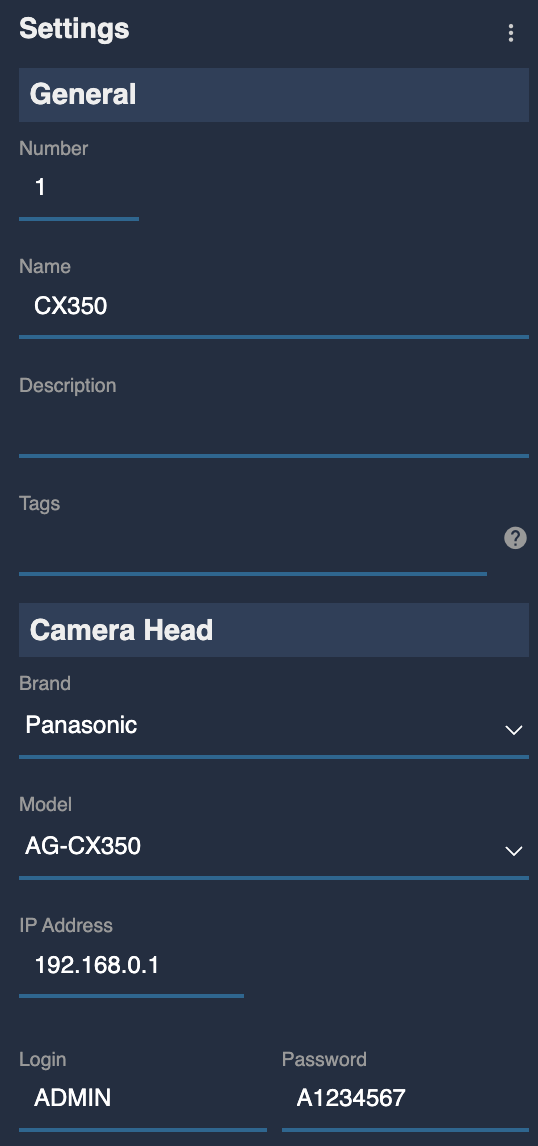
RCP
- Select brand
Panasonicand modelAG-CX350 - Enter the camera
IP(in my case192.168.0.1) - Enter the camera
loginandpasswordfrom the account you previously created inUSER ACCOUNT