ARRI cforce motors
Overview
There are multiple ways to control ARRI cforce motors:
-
Through an ARRI camera LBUS port
When motors are connected to an ARRI camera, control comes through the camera. There is nothing to add or configure on Cyanview side. Make sure lens files are properly loaded in the camera (if needed) and motors are calibrated. -
cmotion cGate
This is the official cforce integration, supported by cmotion and Cyanview in partnership. It allows multiple motors to be controlled from the RCP while also working with other LBUS controllers at the same time, locally or remotely over ethernet. Motors can then be used with any camera brand. Cinefade is also supported for variable ND. See cmotion cGate integration. -
ARRI NIA-1 Network Interface Adapter
When used with an ARRI camera, this adds more possibilities but the camera still drives the motors, so nothing has to be configured on Cyanview side. NIA-1 is not yet supported for direct control like cmotion cGate. At this point, this cannot be used with camera brands other than ARRI. -
Unofficial direct CAN control
For some use cases, direct motor position control is needed. This integration is available as-is, without official support, and uses USB CAN dongles to send low-level data directly to motors. It does not support typical LBUS features, so it is not expected to be compatible with other devices on the LBUS. A typical use case is adding one motor for iris control independently from other LBUS devices, directly driven by a RIO. This solution is explained below.
Direct CAN control of cforce motors (Unofficial)
Compatible models:
- ARRI cforce mini
- ARRI cforce mini RF
- ARRI cforce plus
Wiring
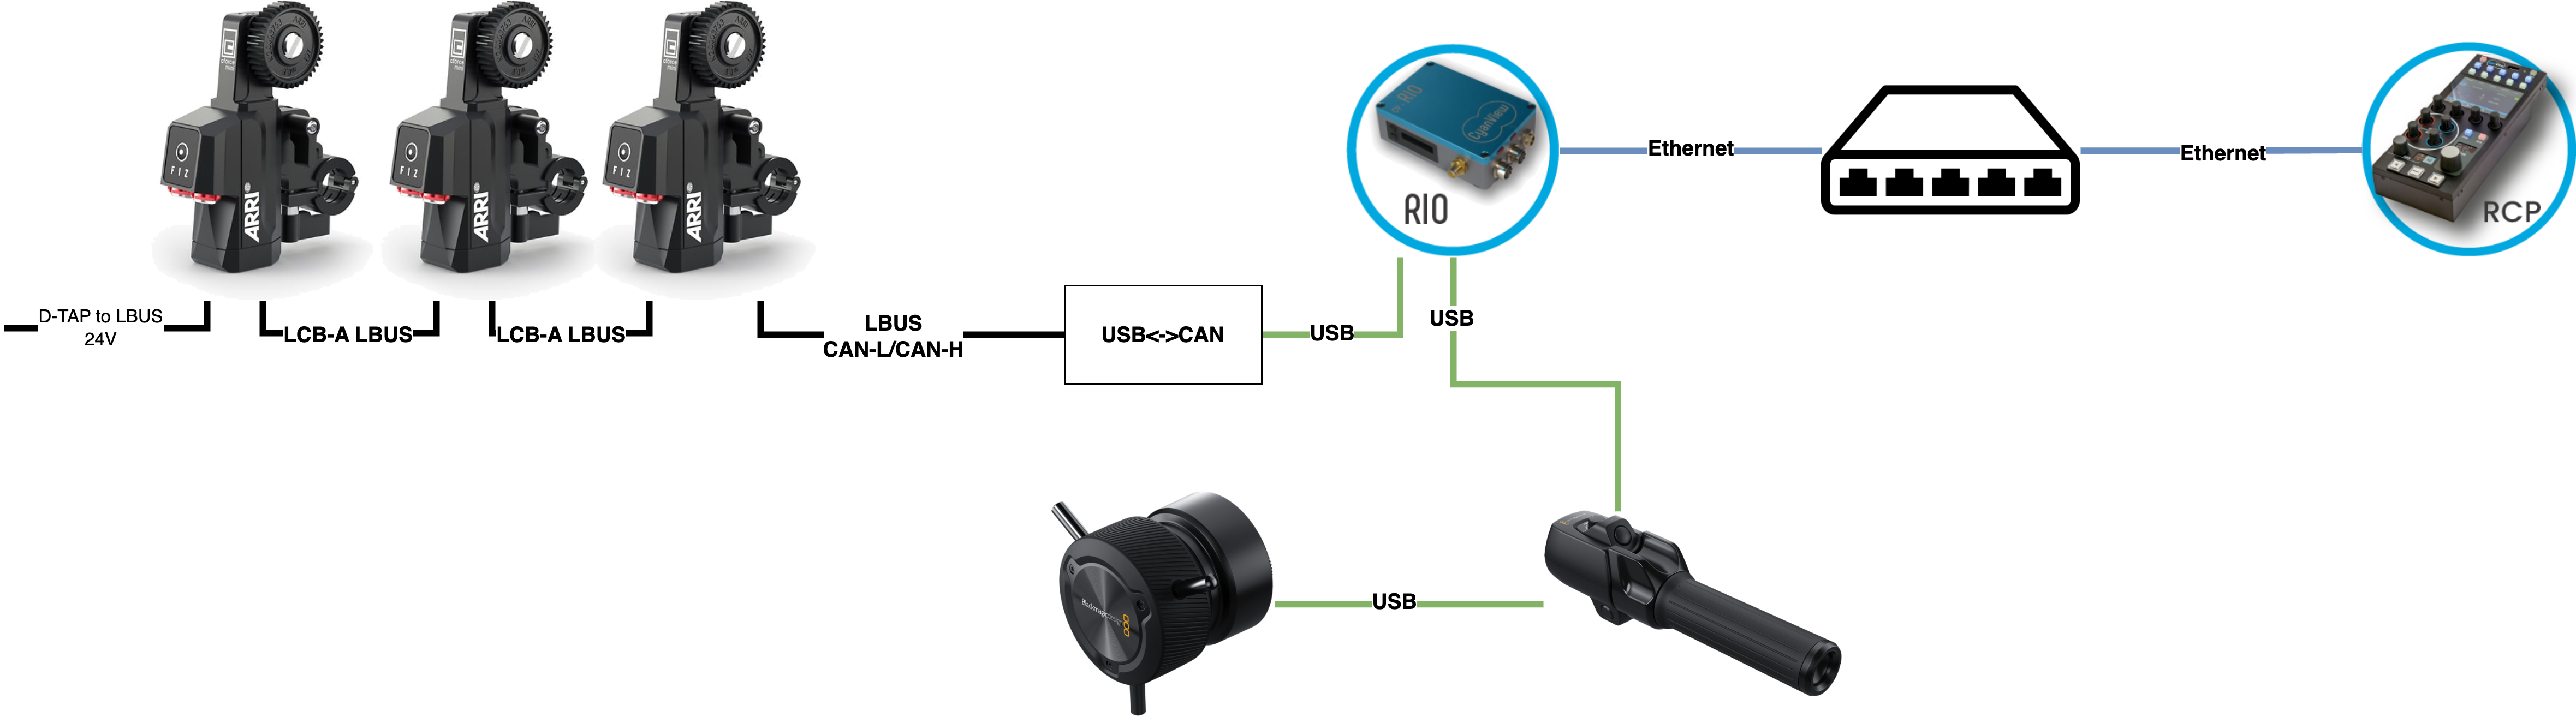
- up to 3 motors on the CAN bus
- the last motor takes power from 2nd port
- the first motor connects the LBUS CAN-L and CAN-H to the USB dongle
- the USB dongle plugs in any USB port of the RIO
optional:
- link RCP/RIO through ethernet, wifi, 4G, etc.
- add blackmagic handles (so iris is done on RCP and zoom/focus with the blackmagic handles)
On the USB dongle, should be wired:
- CAN-L
- CAN-H
Setup
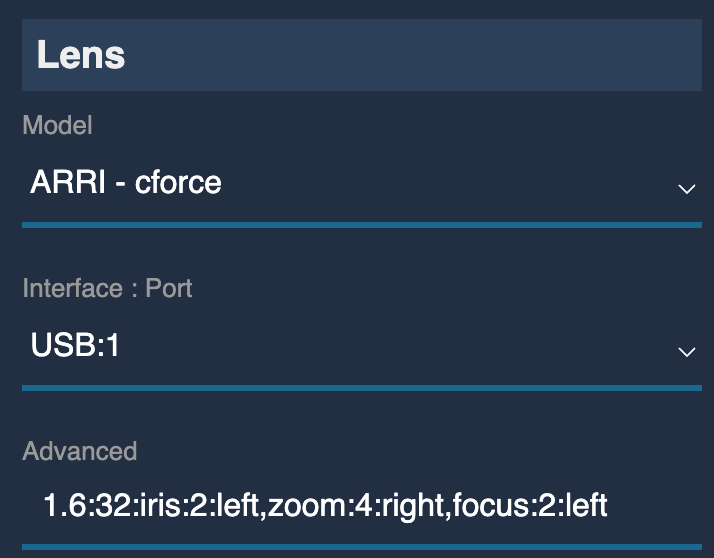
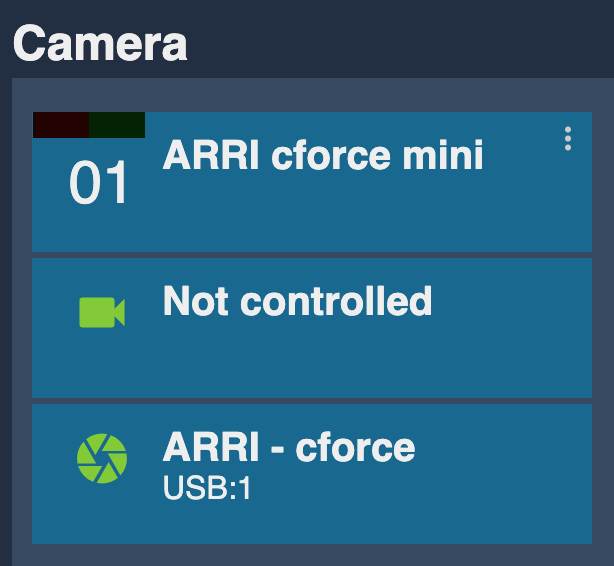
On an existing camera, scroll to Lens section:
Model: selectARRI - cforceInterface: select your USB dongle (in my caseUSB:1, which means USB on port 1)
By default:
- iris + zoom + focus are controlled
- iris 1.6 to 32 with torque 2, direction left
- zoom torque 2, direction left
- focus torque 2, direction left
You can alter the configuration, especially to adapt the iris range:
- top right of the panel, click on
... - activate "advanced mode"
- come back to your lens setup, new
Advancedfield - text,
zoom|iris|focusconfig serparated by,(each block should be fully configured: range if applicable, function, torque and direction). If you just configure iris, default focus and default zoom are still applied. - formats:
- iris :
IRIS_MIN:IRIS_MAX:iris:IRIS_TORQUE:IRIS_DIRECTIONIRIS_MINis the minimum iris valueIRIS_MAXis the maxium iris valueIRIS_TORQUEis the torque of the iris motor (1, 2, 3 or 4)IRIS_DIRECTIONis the direction of the iris motor (left or right)
- zoom:
zoom:ZOOM_TORQUE:ZOOM_DIRECTIONZOOM_TORQUEis the torque of the zoom motor (1, 2, 3 or 4)ZOOM_DIRECTIONis the direction of the zoom motor
- focus:
focus:FOCUS_TORQUE:ZOOM_DIRECTIONFOCUS_TORQUEis the torque of the focus motor (1, 2, 3 or 4)FOCUS_DIRECTIONis the direction of the focus motor (left or right)
- examples:
1.6:32:iris:2:left: iris from 2 to 8, torque is 2, direction is left2:32:iris:2:right: iris from 2 to 32, torque is 2, direction is right1.6:32:iris:2:left,zoom:4:right: iris from 1.6 to 32, left and torque is 2. Zoom with torque 4 and direction is right. No focus.1.6:32:iris:2:left,zoom:4:right,focus:2:left: iris, zoom and focus with torque 2 and direction left
- iris :
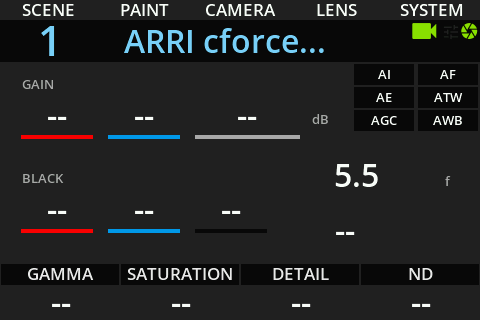
If everything is properly configured and wired, the lens block should appear green:
Here the camera head is "Not controlled", so I just have read/write of iris/zoom/focus. But I could combine it with any camera control.
Calibration
You can run the motor calibration from the RCP:
This menu is available in MENU > LENS > LENS > ACTION, click on Calibrate