Tilta Nucleus-M
Introduction
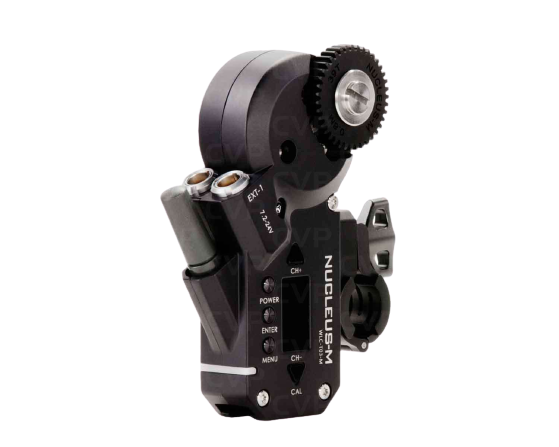
A Nucleus-M Wireless Lens Control System can be controlled by a Cyanview system.
Wiring

You just need to connect the Nucleus-M to the RIO port using the cable CY-CBL-TILTA-SERIAL. Ensure all your motors have differents ID's and then you can daisy chain them.
For one motor on a small lens, the RIO port power supply is usually enough. But we recommend using external power supply (D-TAP, etc. ) that you can connect directly in the cable CY-CBL-TILTA-SERIAL. This way, the power supply is external and the RIO is just used for the control.
In case both ports of the RIO are used (a serial camera and a serial robotic head), then we have an alternative cable: CY-CBL-TILTA-01 that plugs in the RIO USB port. With this cable, external power supply is mandatory.
Motor control
To configure the motors, a camera must be created. To create a camera, refers to the RCP Configuration.
Once the camera is created, configure a "Tilta Lens" control
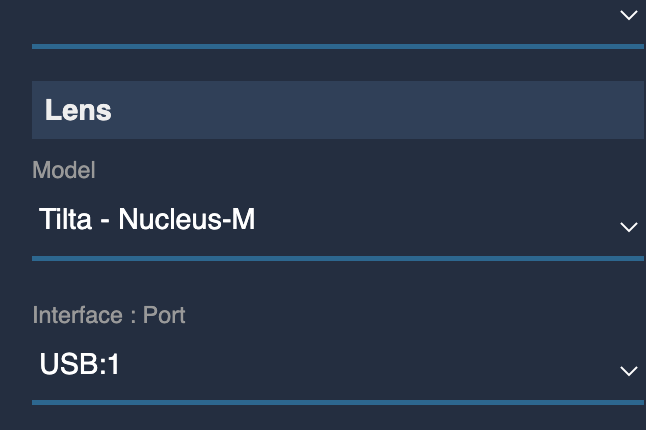
Select the desired USB converter or the CI0 / RIO port in the "Interface: Port" section.
Then, activate the "Advanced view" :
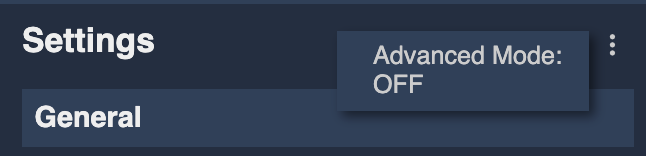
This will shows the "advanced" field in the lens configuration block :
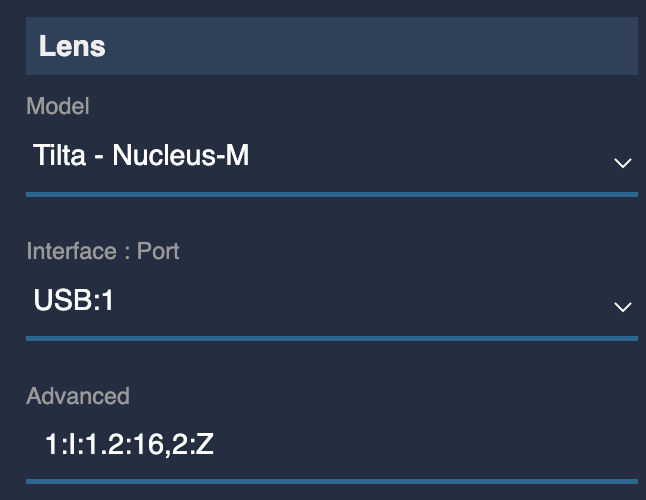
To configure the motors function in the advanced field, the syntax is :
Motor1 NB:Function:Params,Motor2 NB,Function:Params,...
For example, for a configuration with Iris on motor 3, Zoom on motor 5 and Focus on motor 2, the configuration is :
3:I,5:Z,2:F
Iris configuration allows optional parameters. If no parameters are used, the iris range from the RCP exposure control will be from 1.6 to 32. For specific lenses, the range can be configured :
3:I:f-stop-open:f-stop-close
For example, for a lens with an iris range from 2.8 to 16, used with motor 3, the configuration is :
3:I:2.8:16
Calibrate
You can run the calibration from the RCP (instead of doing it manually on the motor itself).
- Navigate to
MENU > LENS > PTZF > Settings - Click on
ACTION(top left). - Press
Calibrate
Also accessible from MENU > LENS > LENS > Control, ACTION
Troubleshoting
In case of issue with the Tilta motor control:
- Ensure to use a proper external power supply
- Check wiring (serial cable, power supply and chaining of motors)
- Check motor ID's : ensure they're different
- Check that motor ID's match the configuration in the RCP (Z, I, F with the right motor number)
- Check that the motor is properly calibrated: push down arrow for 3s, the motor will calibrate itself
- Check that iris range is correct encoded in the RCP configuration
If using a tilta motor on a motorised lens (that is not controllable like the Canon 18-80 for example). Ensure to disengage the tilta motors to avoid:
- The camera will start
- The RIO will start
- The Tilta motors will start and "lock" the lens moves
- The lens will start en "calibrate" itself, but this will fail as the tilta motor is locking the lens. And your handles will be stuck.
This is not required with all lenses and is only required when starting the camera/lens.
Just unplug the CY-CBL-TILTA-SERIAL (or external PSU) cable to disengage the motors.