Camera groups
Concept
This feature allows to create camera groups, with the ability to control each camera of a group at the same time. Grouping cameras can be used when an adjustement must be done on multiple cameras at the same time. For example, to recall a position on PTZ cameras, or to perform a white balance.
Group configuration
Groups are configured directly in the Configuration Web UI. Once all the cameras are configured, groups can be added on the Tags field.
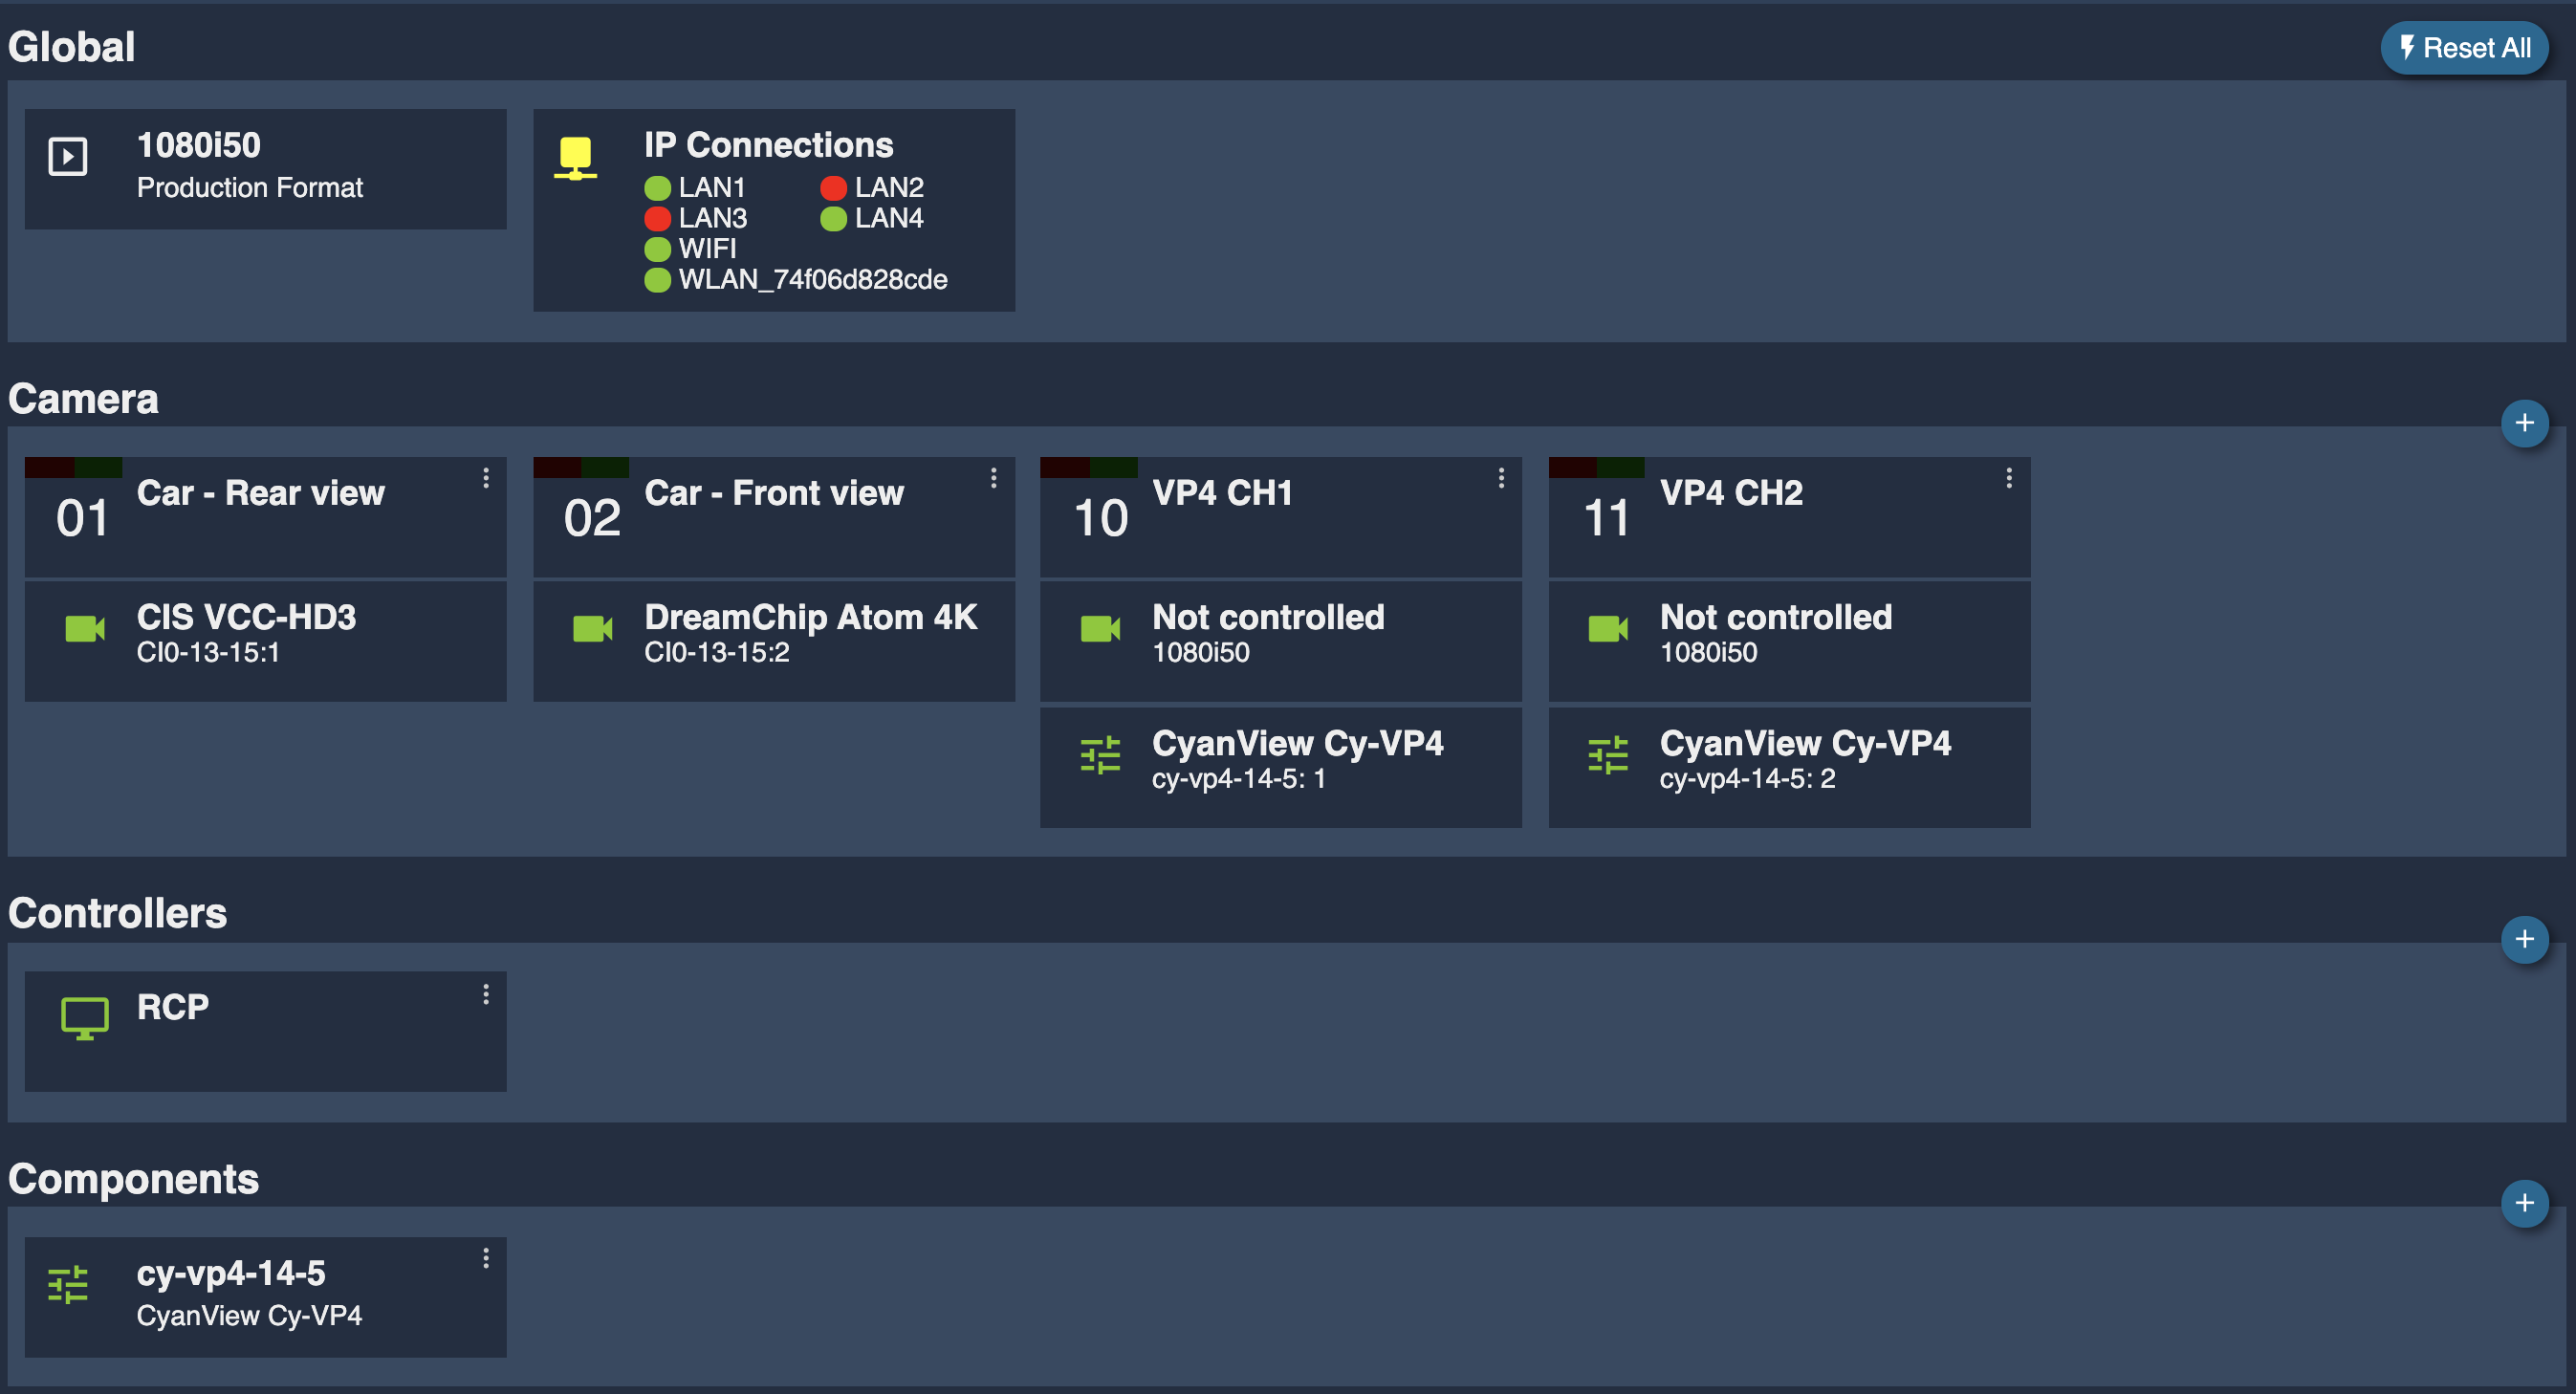
- First, create your camera configuration. In this example, the configuration contains two cameras in a stadium on each goal, and two VP4 channels
- Click on the camera you want to add in a or multiple groups, and set your groups in the
Tagsfield. Groups are defined with the keyworkgroup:, followed by the group name. Each groups must be separated by a comma. For example :group:Group1, group:Group2.

- Set the desired group name for each cameras that must be grouped. Each camera can have up to height groups. Group names are case sensitive, can contains only alpha-numeric characters plus "_" and "-".
Using groups on RCP
Each RCP contains a default group named "All". Even when no groups are configured, the "All" group is accessible from the RCP, and allows to control every camera set in the configuration.
- The group menu can be accessed by pressing and holding the Preview button, and selecting the Groups tab.
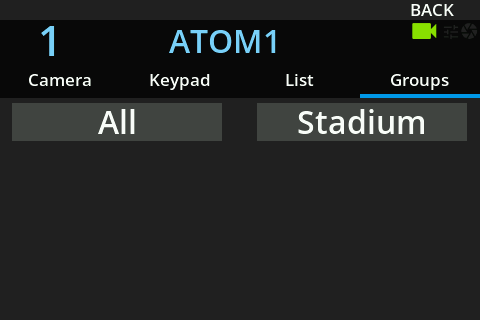
- On the group menu, groups can be selected by pressing the on-screen button. Once a group is selected, it is highlighed in orange, and the an orange line is displayed around the screen.

-
To close the group menu, release the preview buton.
-
When a group is selected, the orange line around the screen remains.
- Finally, to unselect a group, enter again in the group menu, and press on the selected group to unselect it. Changing camera also automatically unselect the group.