Fujinon/Canon Lens video return
This guide walks through the different steps to integrate a Fujinon/Canon lens with video return action.
On a lens, you have buttons (RET1, etc.) that we can use to trigger actions on the RCP. Typically, you can map a RET1 to a router/switcher command to change the video return source based on button press.
Typically: switch between your camera video return (you could have LOG or LUT switch), the program, the main camera, etc.
It allows you to have one video out (clean signal), and one video return from the switcher/router and based on the buttons, select which video return you want to see on your cameraman display.
It works with any lens with a RET1 button (Canon, Fujinon, etc.) that we control directly.
If your lens doesn't have buttons, or digital control or is not controlled by a CI0/RIO, it will not be possible.
So if you have a Sony Venice and the lens (iris) is controlled through the camera protocol (8-Pin), it will not be possible. To make it work, you would need a RIO that will control the camera and the lens directly.
Wiring
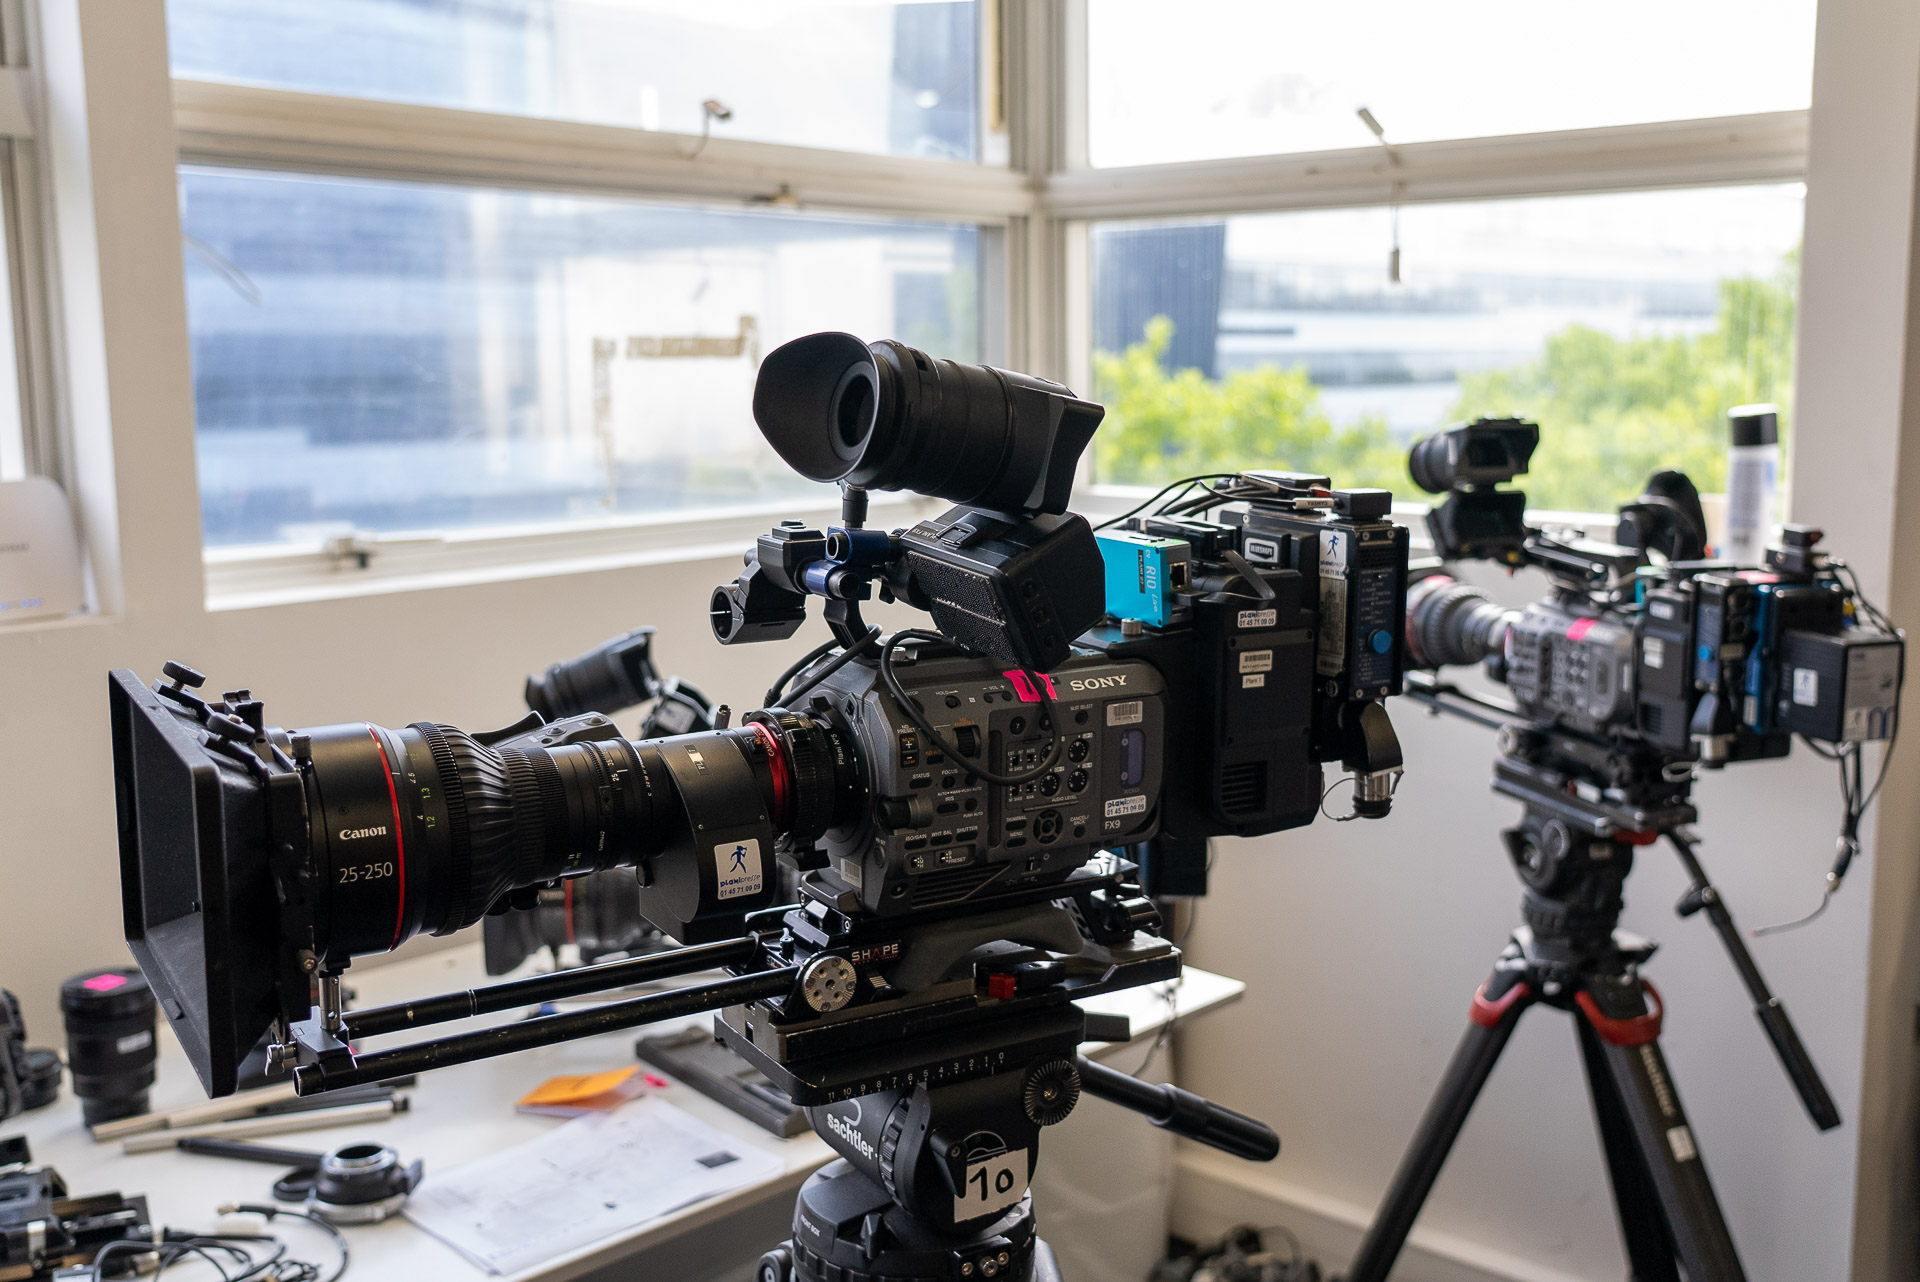
Here, I describe the use case with a FX9 and a Canon PL lens, but it's the same for any lens and any camera that we can control.
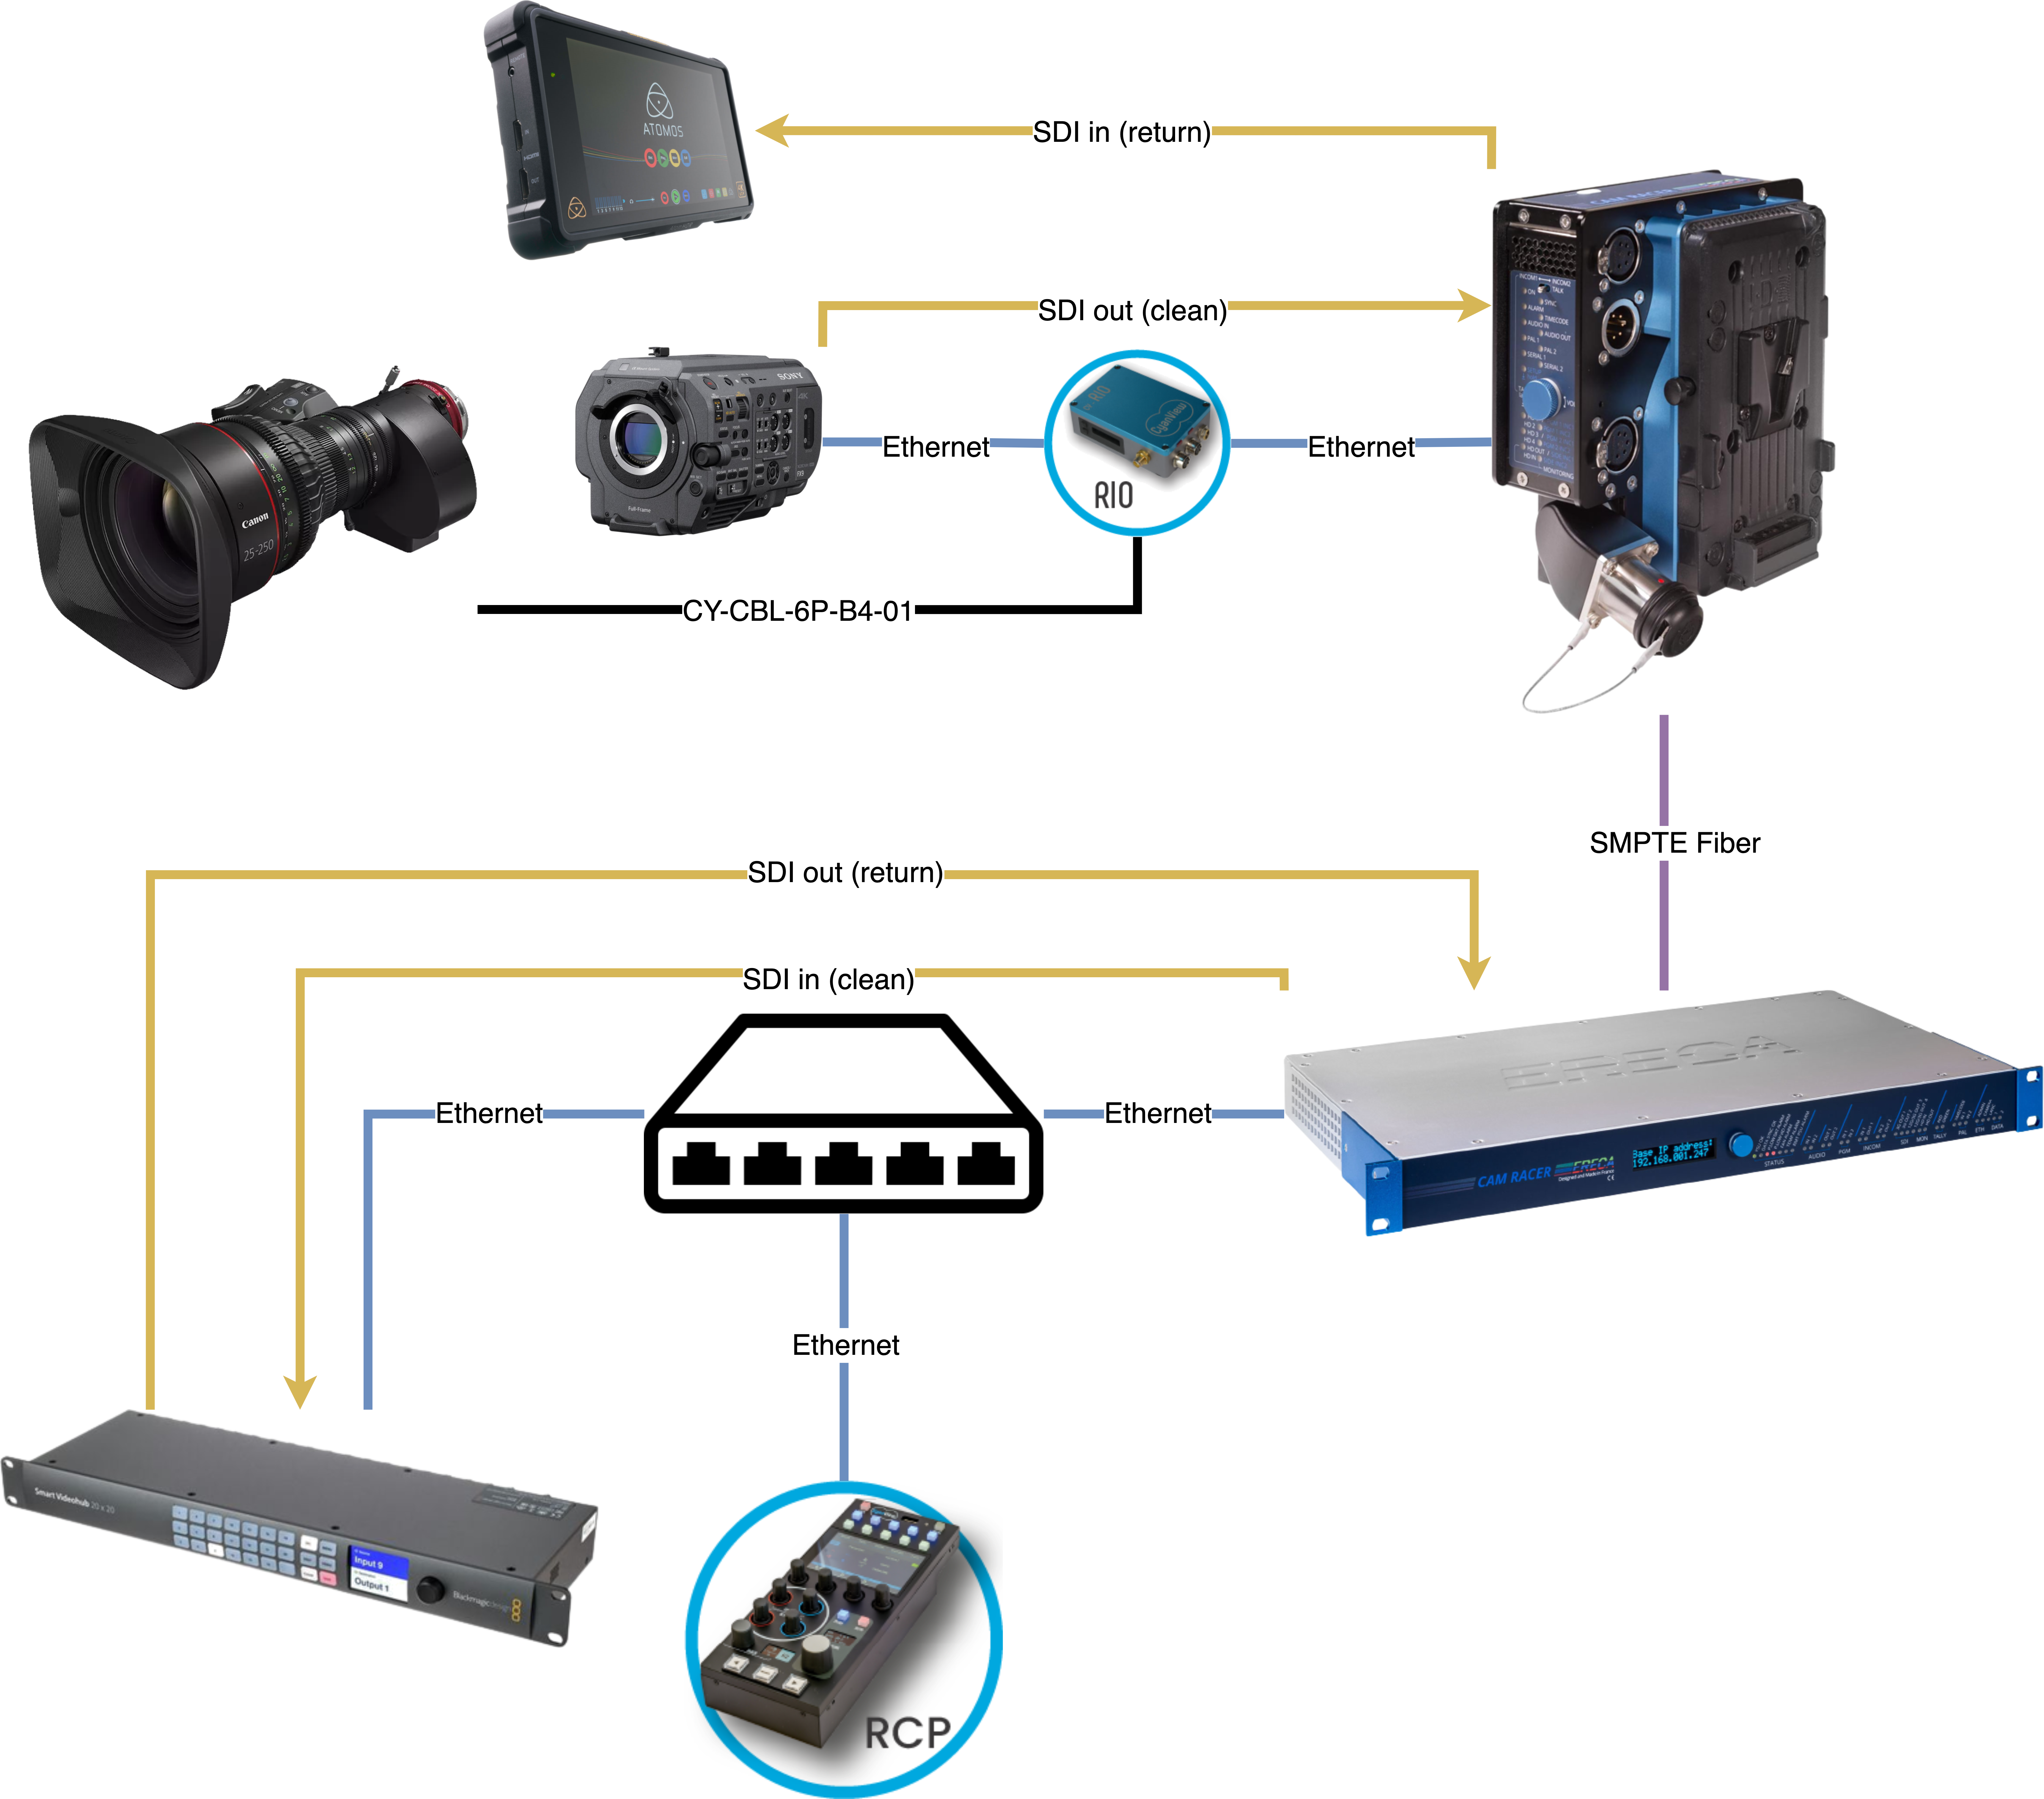
On camera side:
- RIO is connected to:
- FX9 XDCA RJ45 port (could be Wi-Fi using a dongle on the RIO)
- Canon Lens using CY-CBL-6P-B4-01 cable
- Ereca CAM RACER using a USB-Ethernet dongle (because RIO has only one RJ45 port)
- CAM RACER:
- SDI in comes from the FX9 SDI out
- SDI out goes into external display
RIO has one RJ45 onboard. But has 2 USB that you can use to extend connectivity (4G dongles, Wi-Fi dongles, RJ45 dongles, etc.). So you can have 2 RJ45 on the RIO.
In this case, RIO is configured in bridge mode, so both RJ45 are not physically separated anymore, RIO acts like a switch. It allows you to get your FX9 webpage from the CCU room without adding a switch.
Setup
RIO/Camera side
Here, you need to configure:
- RIO Ethernet in
auto bridgemode:- click on
IP Connections - scroll to the bottom of the page,
Bridgesection - click on
Auto Bridge USB Interfaces
- click on
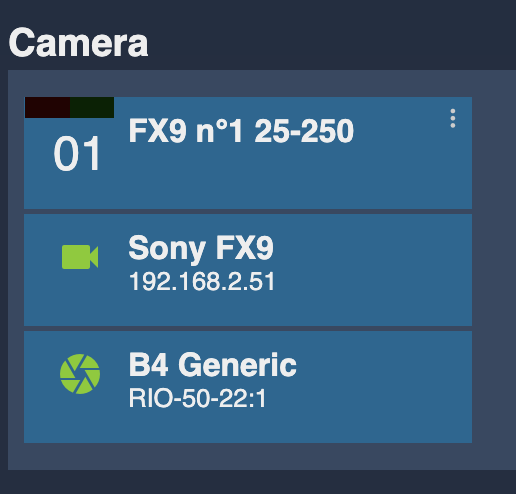
- Your camera as usual, here a FX9
- Your lens as usual, here a Canon PL lens (model
B4 generic) - Your REMI tag as usual
It should look like this:
And like this for the bridge:

And don't forget your REMI tag:

To get further, you can take a look at the dedicated guides:
RCP side
On the RCP, you need to:
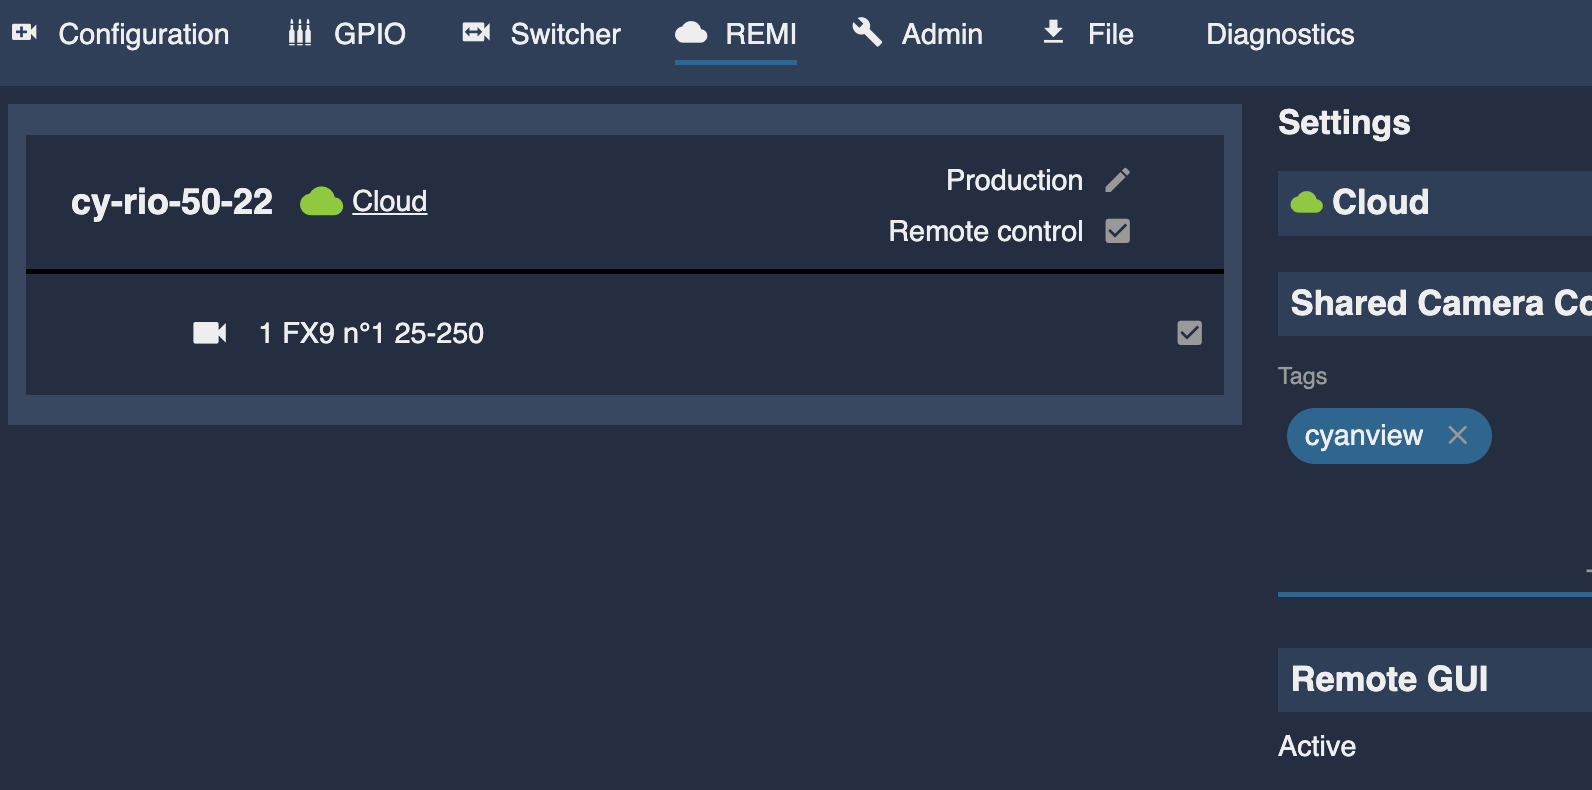
- Import the camera from your RIO:
- click on
REMI - setup the same tag you added in your RIO (you can have multiple tags, but at least one in common for RIO/RCP)
- click on the checkbox next to your RIO/Camera
- click on
- Create your router/switcher, here a Blackmagic Videohub:
- Enter a name, whatever you want
- Enter the IP address of your router/switcher
- Configure the input range (you should ensure to have at least: your camera and all the input you want to feed in the video return)
- Link your camera to the router input (this will allow us to map the RET1 button to the router input and correct camera)
- Configure your output range (you should ensure to have at least the output that will be your video return in the Ereca)
It should look like this:
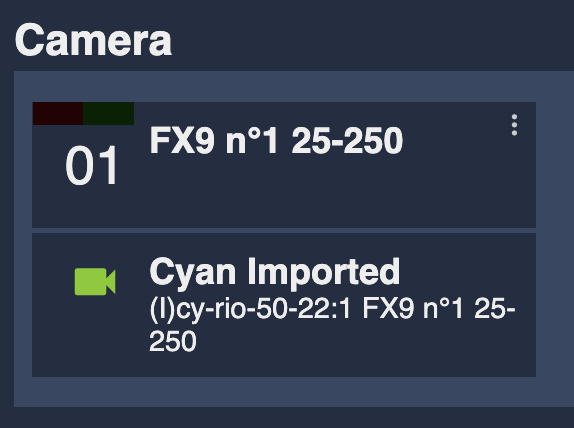
When you click on the checkbox of your camera to be imported in REMI, it automatically creates a camera in the Camera section with the same name and number as in the RIO. After this automatic import, you can change the name and number on the RIO and RCP independently without having to "relink" them.
And the router/switcher setup:
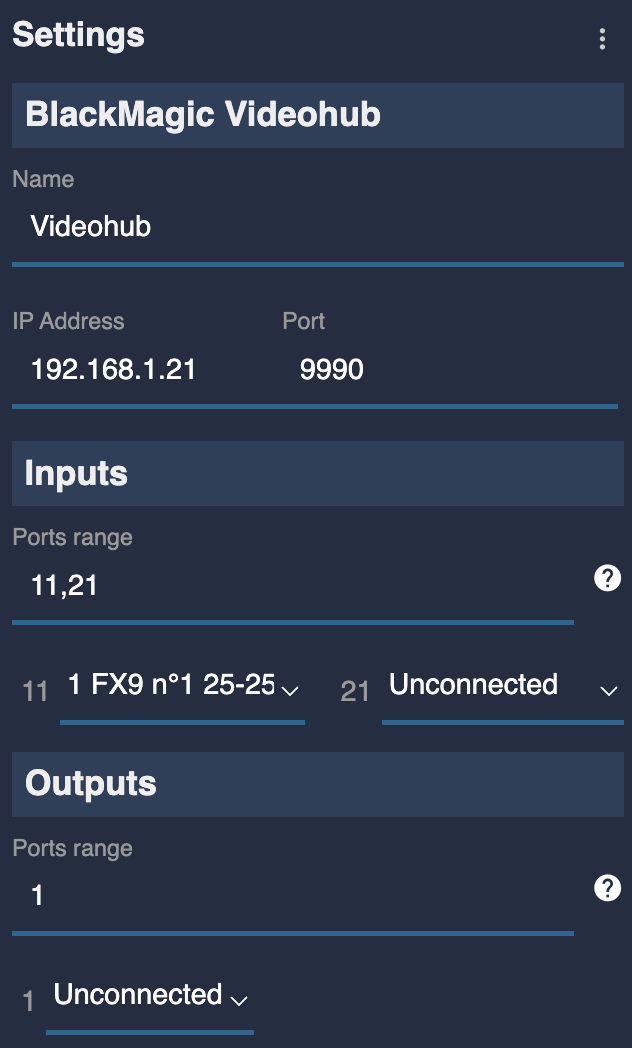
Input 11 will be my FX9 clean signal (coming from the Ereca and injected back in my Videohub SDI input 11).
Input 21 will be my program (coming from the Videohub SDI input 21). To help you remember which input is which, you could create a not controlled camera (empty camera model/brand), name it PGM and link it to the input 21, but that's not mandatory, so here I don't do it.
But having both input (11 and 21) in my case is mandatory, or I will not be able to "use" this later on
Output 1 is my video return signal going, to the Ereca, back to the cameraman display. To help you remember which output is which, you could create a monitor, rename it and link it to the output 1, but that's not mandatory, so here I don't do it.
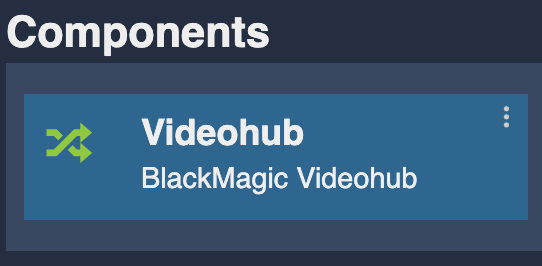
Now navigate to /dev/app.html and look for your router/switcher and click on it:

On the right side, you should see your router/switcher advanced configuration:

Edit video_return to 1:11,21,21,21 and click OK to save.
Done.
Here, when the cameraman will press any button on the lens, it will show the PGM on the video return (input 21 mapped to output 1). When released, it will show the clean signal (input 11 mapped to output 1).
You could decide to map different buttons to different input to have:
- RET1 for the LOG signal
- RET2 for the main camera
- etc.
To get further, you can take a look at the dedicated guides:
- For REMI
- For Router/Switcher
- For Video return