WiFi USB setup
This guide is intended to provide a Wi-Fi connectivity to Cyanview devices:
- RIO
- RCP
Use cases:
- Internet access (the RCP/RIO) connects to your venue AP
- RIO/RCP acts as AP, you can connect to it using your smartphone/laptop for configuration
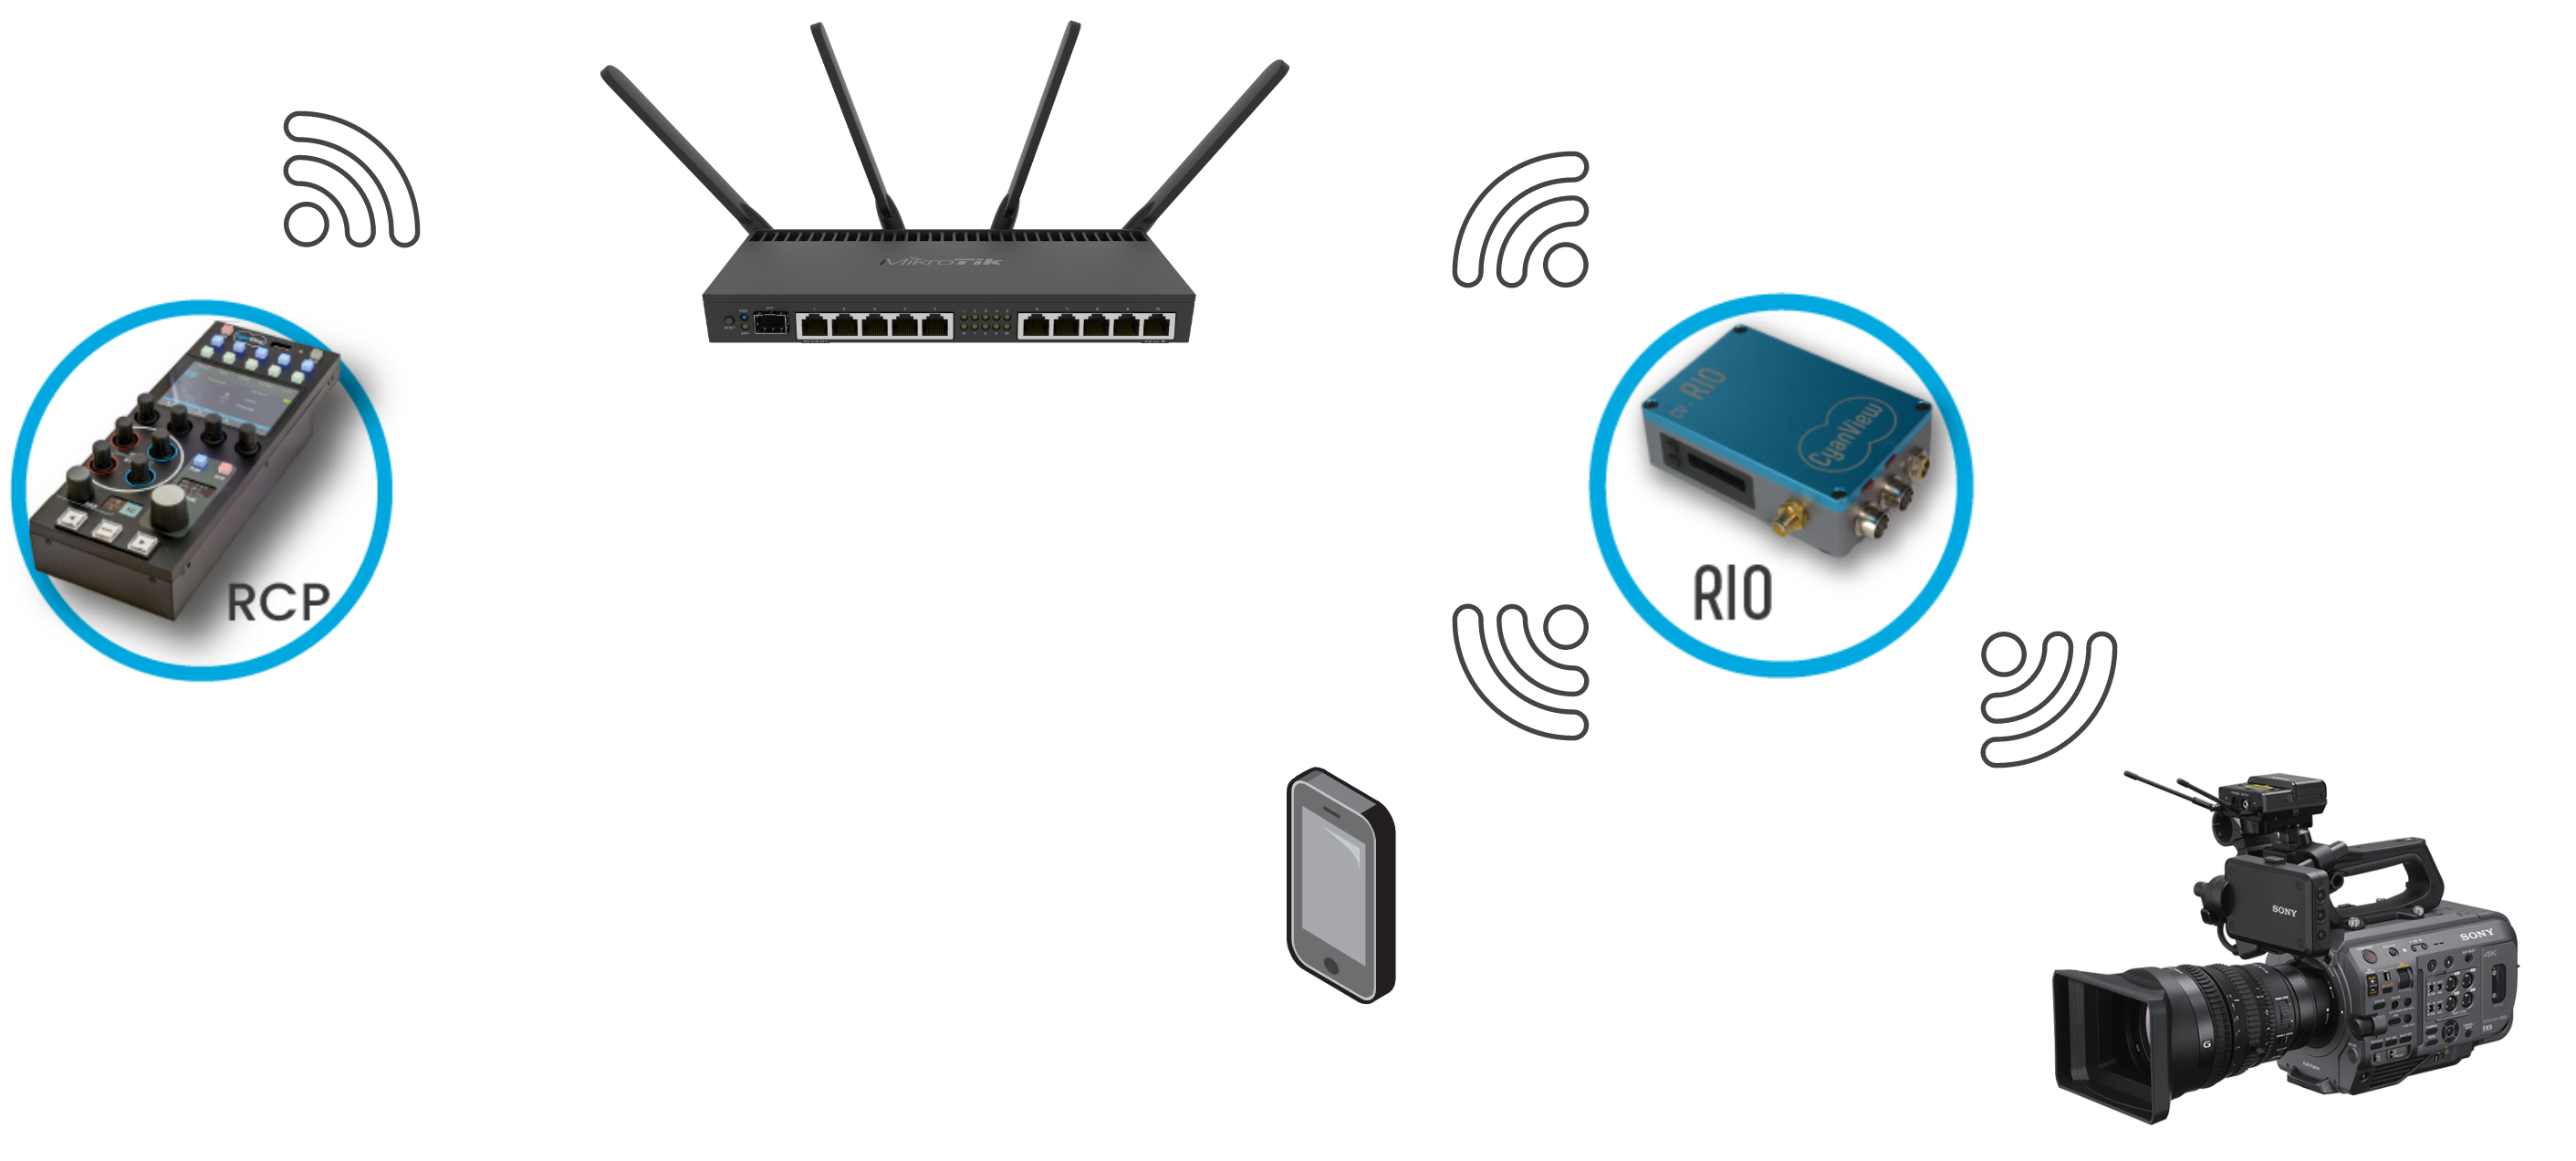
- Wi-Fi control : Wi-Fi camera (FX9, etc.) connects to your venue AP, RCP controls over Wi-Fi
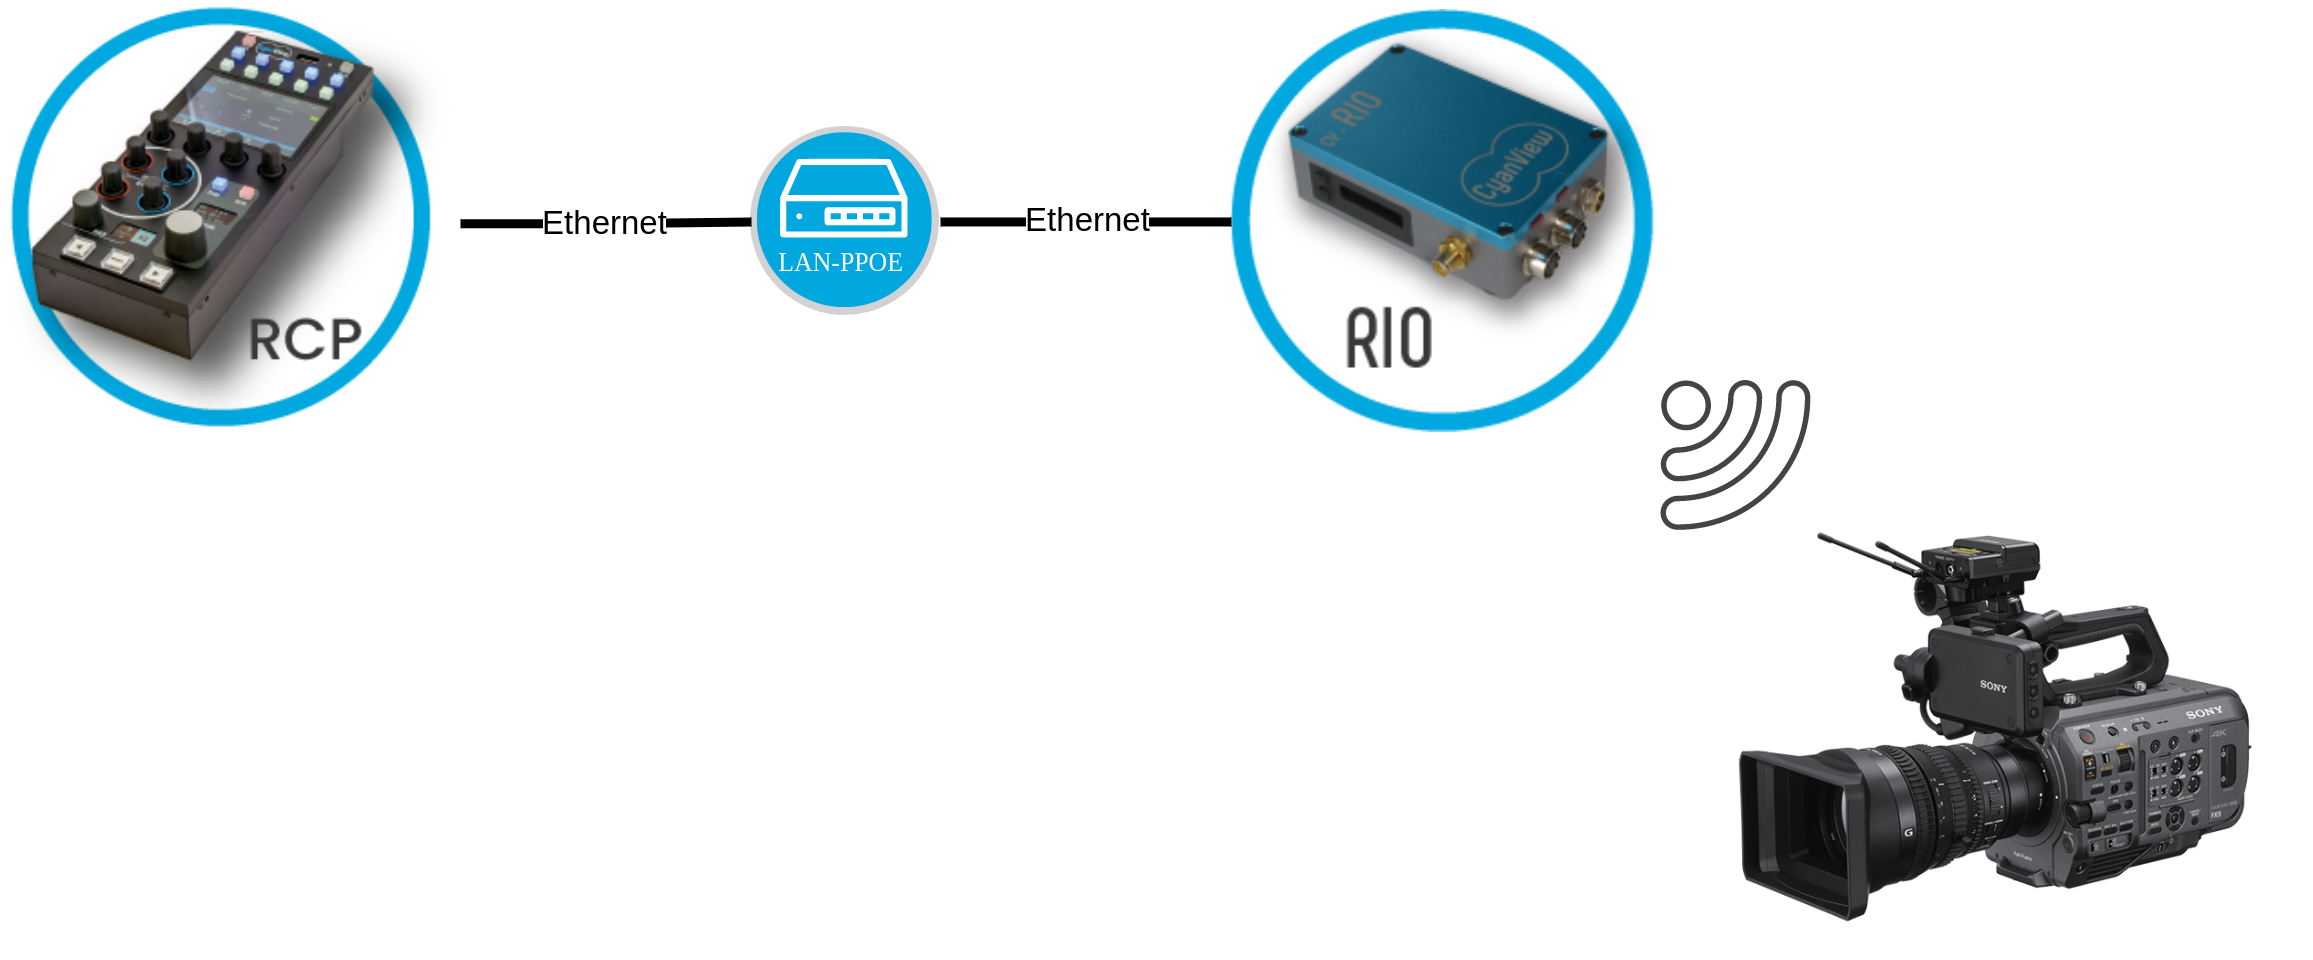
- Wi-Fi/Ethernet bridge : Wi-Fi camera (FX9, FX6, etc.) connects to your RIO AP, then to RCP through Ethernet
Compatible USB dongles:
Look for USB dongles using one of these supported drivers.
- RTL8812BU: commonly used in AC1200 and AC1300 adapters
- ASUS
- ASUS AC1300 USB-AC55 B1
- ASUS U2
- ASUS USB-AC53 Nano
- ASUS USB-AC58
- Dlink
- Dlink - DWA-181
- Dlink - DWA-182
- Dlink - DWA-183 D Version
- Dlink - DWA-185
- Dlink - DWA-T185
- Edimax
- Edimax EW-7822ULC
- Edimax EW-7822UTC
- Edimax EW-7822UAD
- NetGear A6150
- TP-Link
- TP-Link Archer T3U
- TP-Link Archer T3U Plus
- TP-Link Archer T4U V3
- TP-Link Archer T4U Plus
- TRENDnet TEW-808UBM
- ZYXEL NWD6602
- ASUS
- RTL8811, RTL8812, RTL8821: commonly used in AC600 and AC650 adapters
- UGREEN AC650
- Many unbranded devices but they usually list the IC used
- RTL8192EU used in N300 adapters
- TP-Link TL-WN823N
- RTL8822CU Wifi 5
- D-Link AC13U
Setup
First, plug your dongle in any USB port in the back of your RIO or RCP (next to RJ45).
Then, in the web interface, you should see in the IP block:
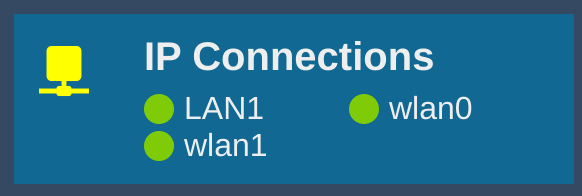
With:
wlan0the first Wi-Fi interfacewlan1the second Wi-Fi interface
As my TP-Link AC1300 package 2 Wi-Fi interfaces in a single USB device
Green/Red status represent the carrier. So in Wi-Fi, it just tells that there is a link, not that it works.
RIO/RCP Internet access
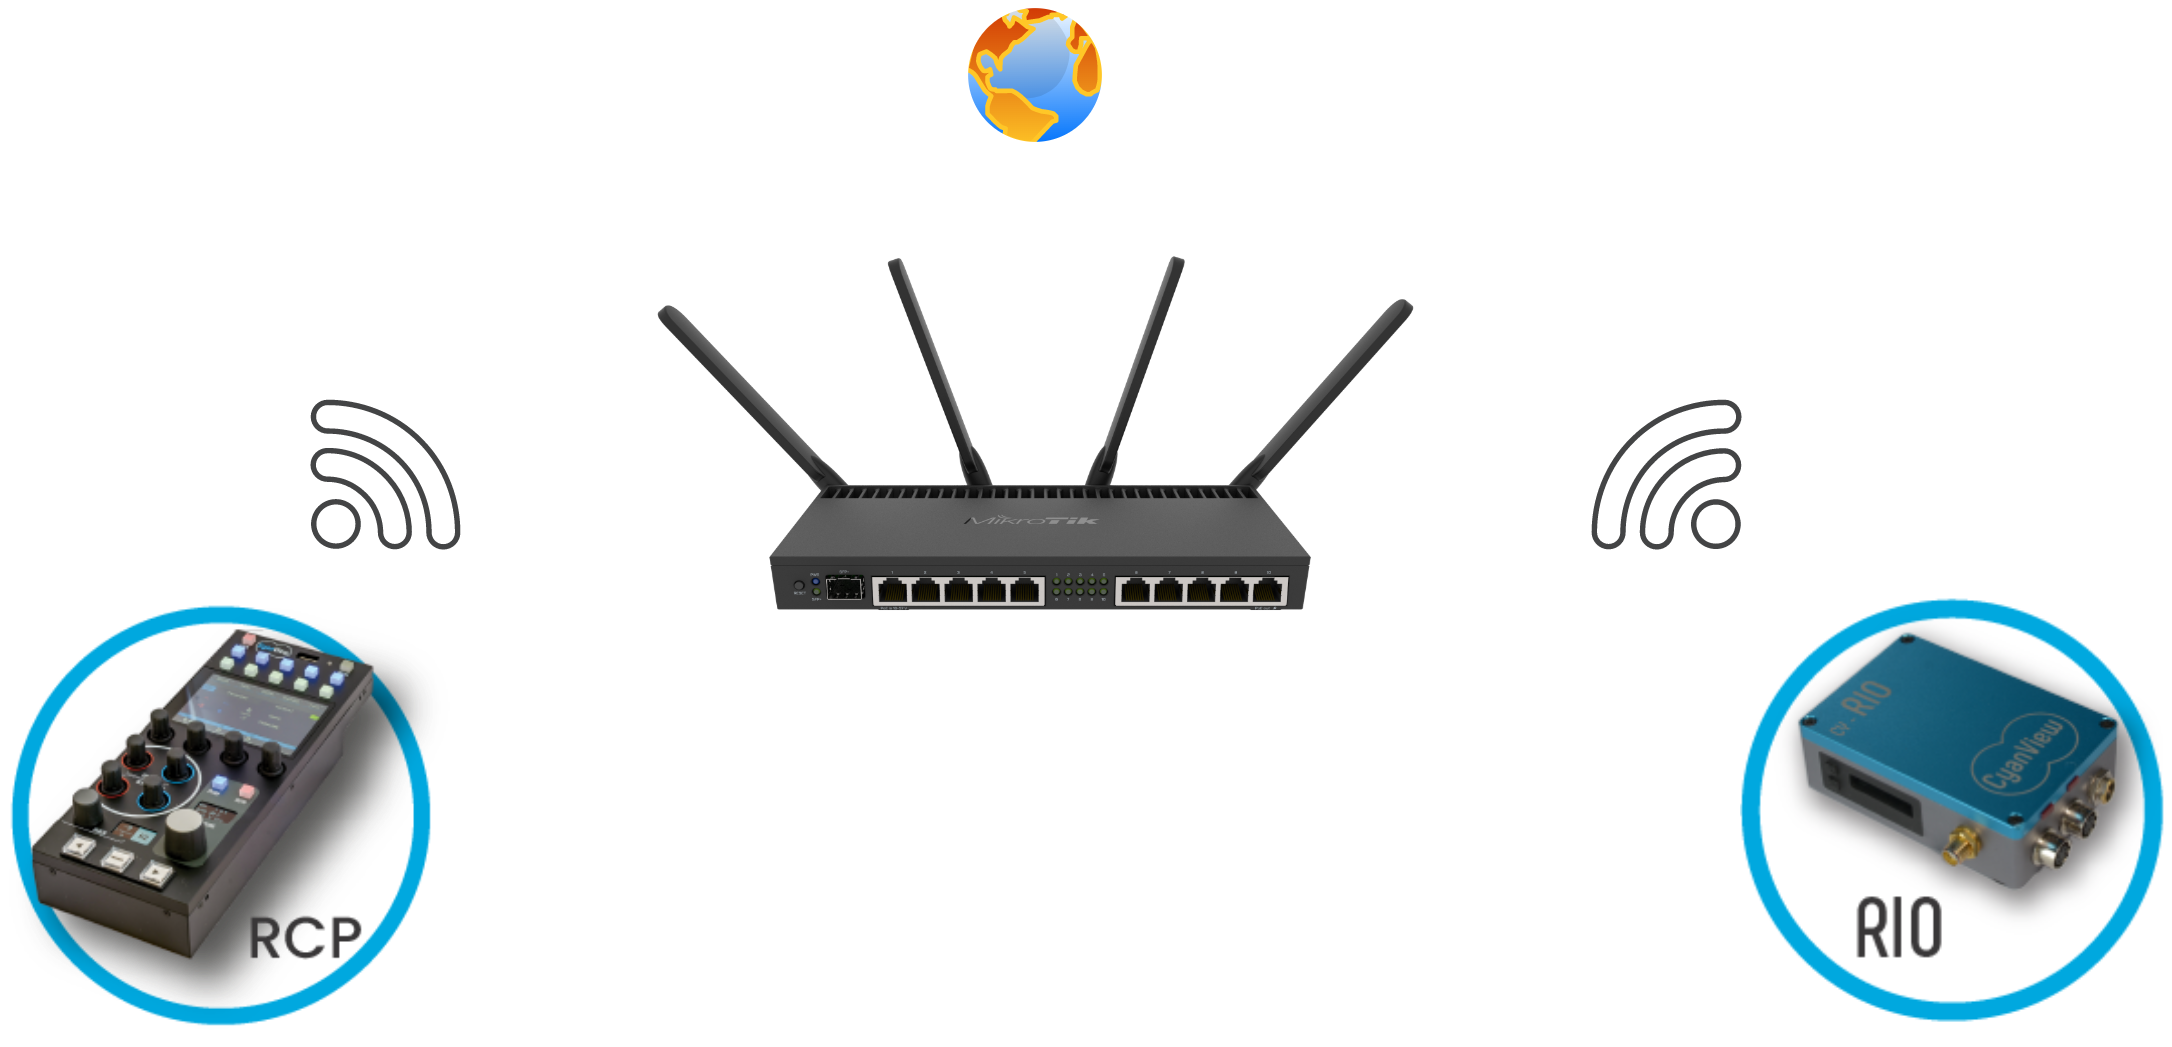
Here is a video guide of my RCP connecting to my iPhone Wi-Fi to get internet access:
- Click on the
IPblock - In the right panel, scroll down to
Wi-Fisection - In the
wlan0block, selectStationforConfiguration Mode - Click on
Show all networksto unfold the SSID list - Click on your Wi-Fi, enter the password if required, click anywhere on the page to validate
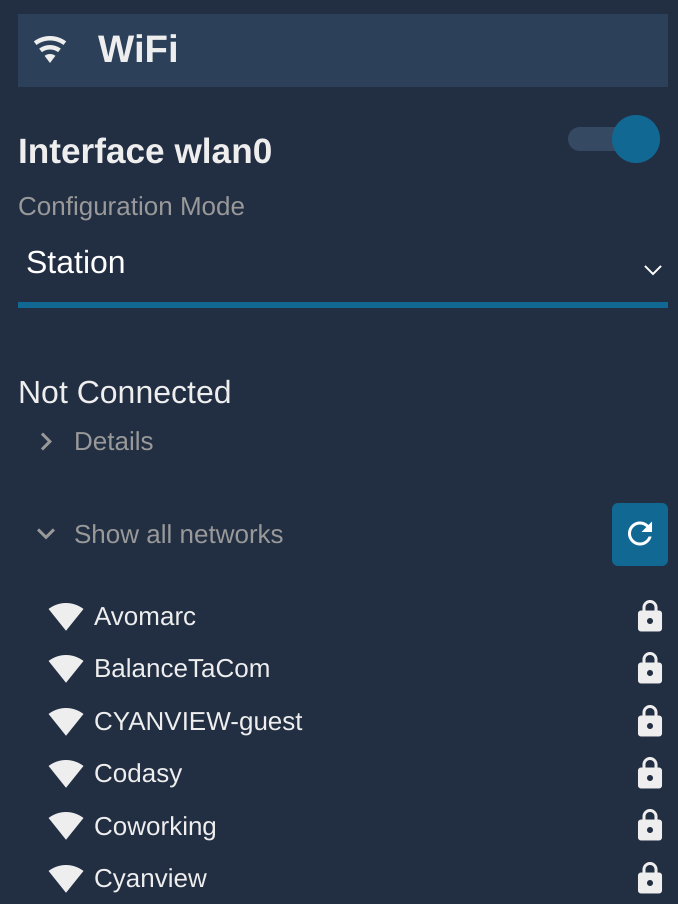
After a couple of second, you should be connected.
You can unfold Details to see the information:
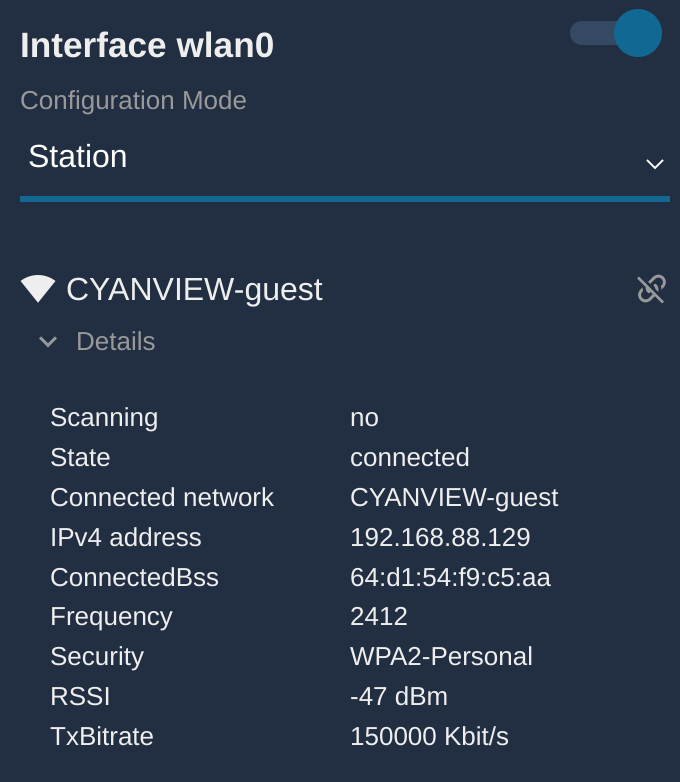
Here, I am connected to SSID CYANVIEW-guest and my RCP received the IP 192.168.88.129
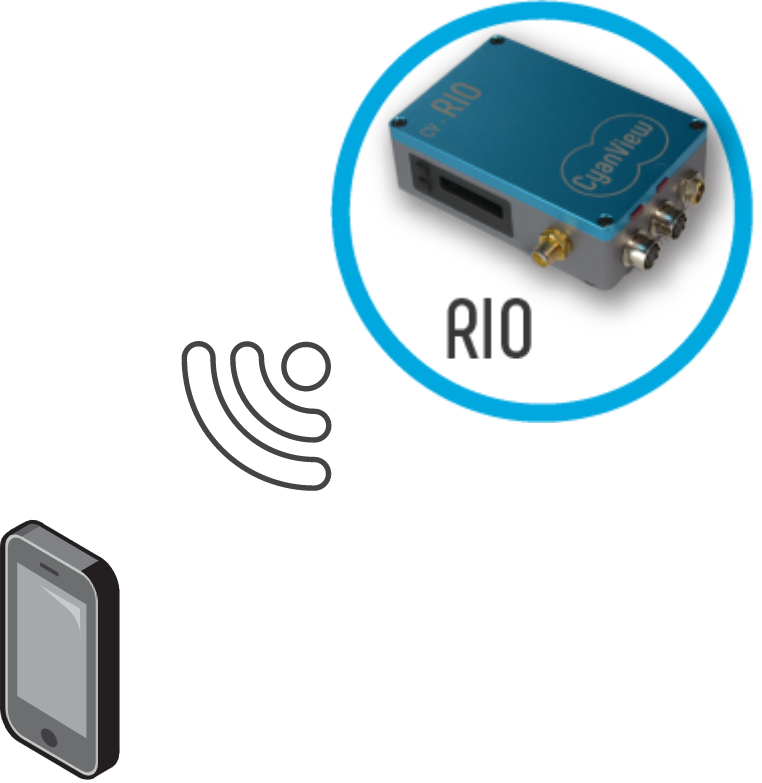
RIO/RCP web UI smartphone/laptop access
- Click on the
IPblock - In the right panel, scroll down to
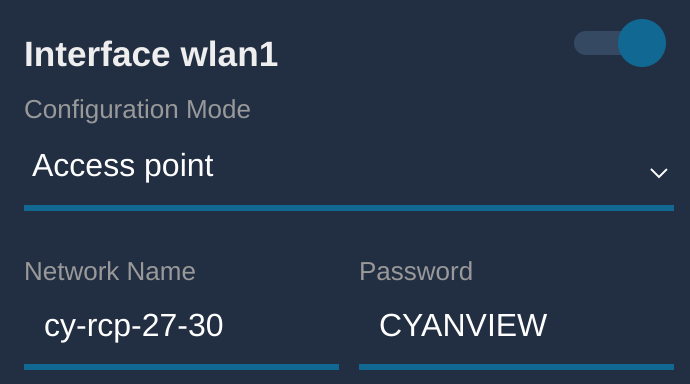
Wi-Fisection - In the
wlan1(orwlan0) block, selectAccess PointforConfiguration Mode - Enter your SSID in
Network Name - Enter your Wi-Fi password in
Password
After a couple of seconds, you can scan Wi-Fi with your smartphone and connect using the configured SSID/password:
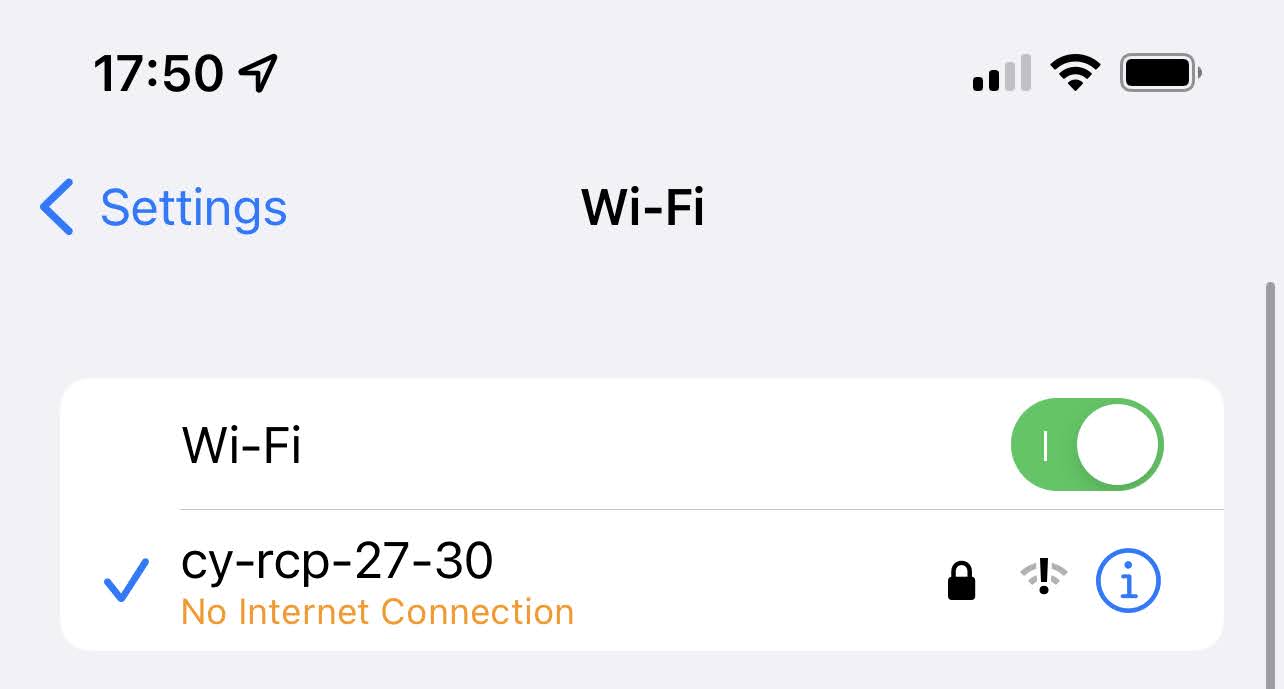
You can then navigate to the RIO/RCP configuration interface by browsing http://10.1.1.1
RIO Wi-Fi camera control
- Click on the
IPblock - In the right panel, scroll down to
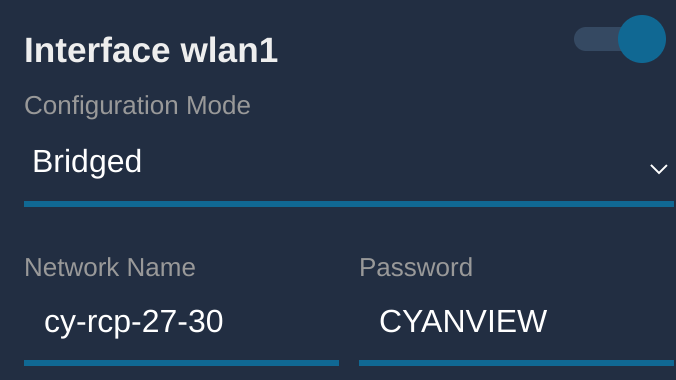
Wi-Fisection - In the
wlan1(orwlan0) block, selectBridgedforConfiguration Mode - Enter your SSID in
Network Name - Enter your Wi-Fi password in
Password
After a couple of seconds, you can scan Wi-Fi with your camera and connect to the RIO AP with configured SSID/password
Your Wi-Fi password in AP should be at least 8 characters long. If not, the AP is not created.
If everything is properly configured, up and running, your interface dot should turn green in the IP Connections block.
Troubleshooting
RIO/RCP not accessible/linked on Wi-Fi
Ensure that your Wi-Fi is properly configured and up and running on all your devices.
Ensure that you don't have LAN and Wi-Fi on the same subnet (and plugged at the same time). As a rule of thumb, don't mix LAN and Wi-Fi station on the same device except if you know what you're doing.
Usually, people test at home with a single AP. This AP provide a DHCP server with a single range for LAN and Wi-Fi: 192.168.X.Y/24.
So if you have LAN and Wi-Fi connected on the same router and both are in DHCP, you could have IP routing issues (2 IPs on the same subnet on 2 different interfaces).
Multiple ways to fix it if needed (you need to know advanced networking like putting it in static, adding routes, metrics, etc.).
Tips: you can check in Diagnostic to see if you have IP (range) conflict.
Typically:
- set up your RCP in Ethernet/DHCP.
- set up your RIO in Wi-Fi station/DHCP.
- your Wi-Fi AP is also your router, RCP/RIO will have IP in the same subnet, no routing issue, no conflict.